
AstroBot部署
安装
先检测Docker的版本
powershell
1
docker --version
然后下载一个 portainer面板
powershell
1
docker volume create portainer_data
powershell
1
docker run -d --name portainer --restart=always -p 9000:9000 -v /var/run/docker.sock:/var/run/docker.sock -v portainer_data:/data portainer/portainer-ce:latest
确认安装好了
powershell
1
docker ps
然后我们在浏览器中访问这个地址,IP为刚才创建的服务器的IP
text
1
http://<你的服务器IP>:9000
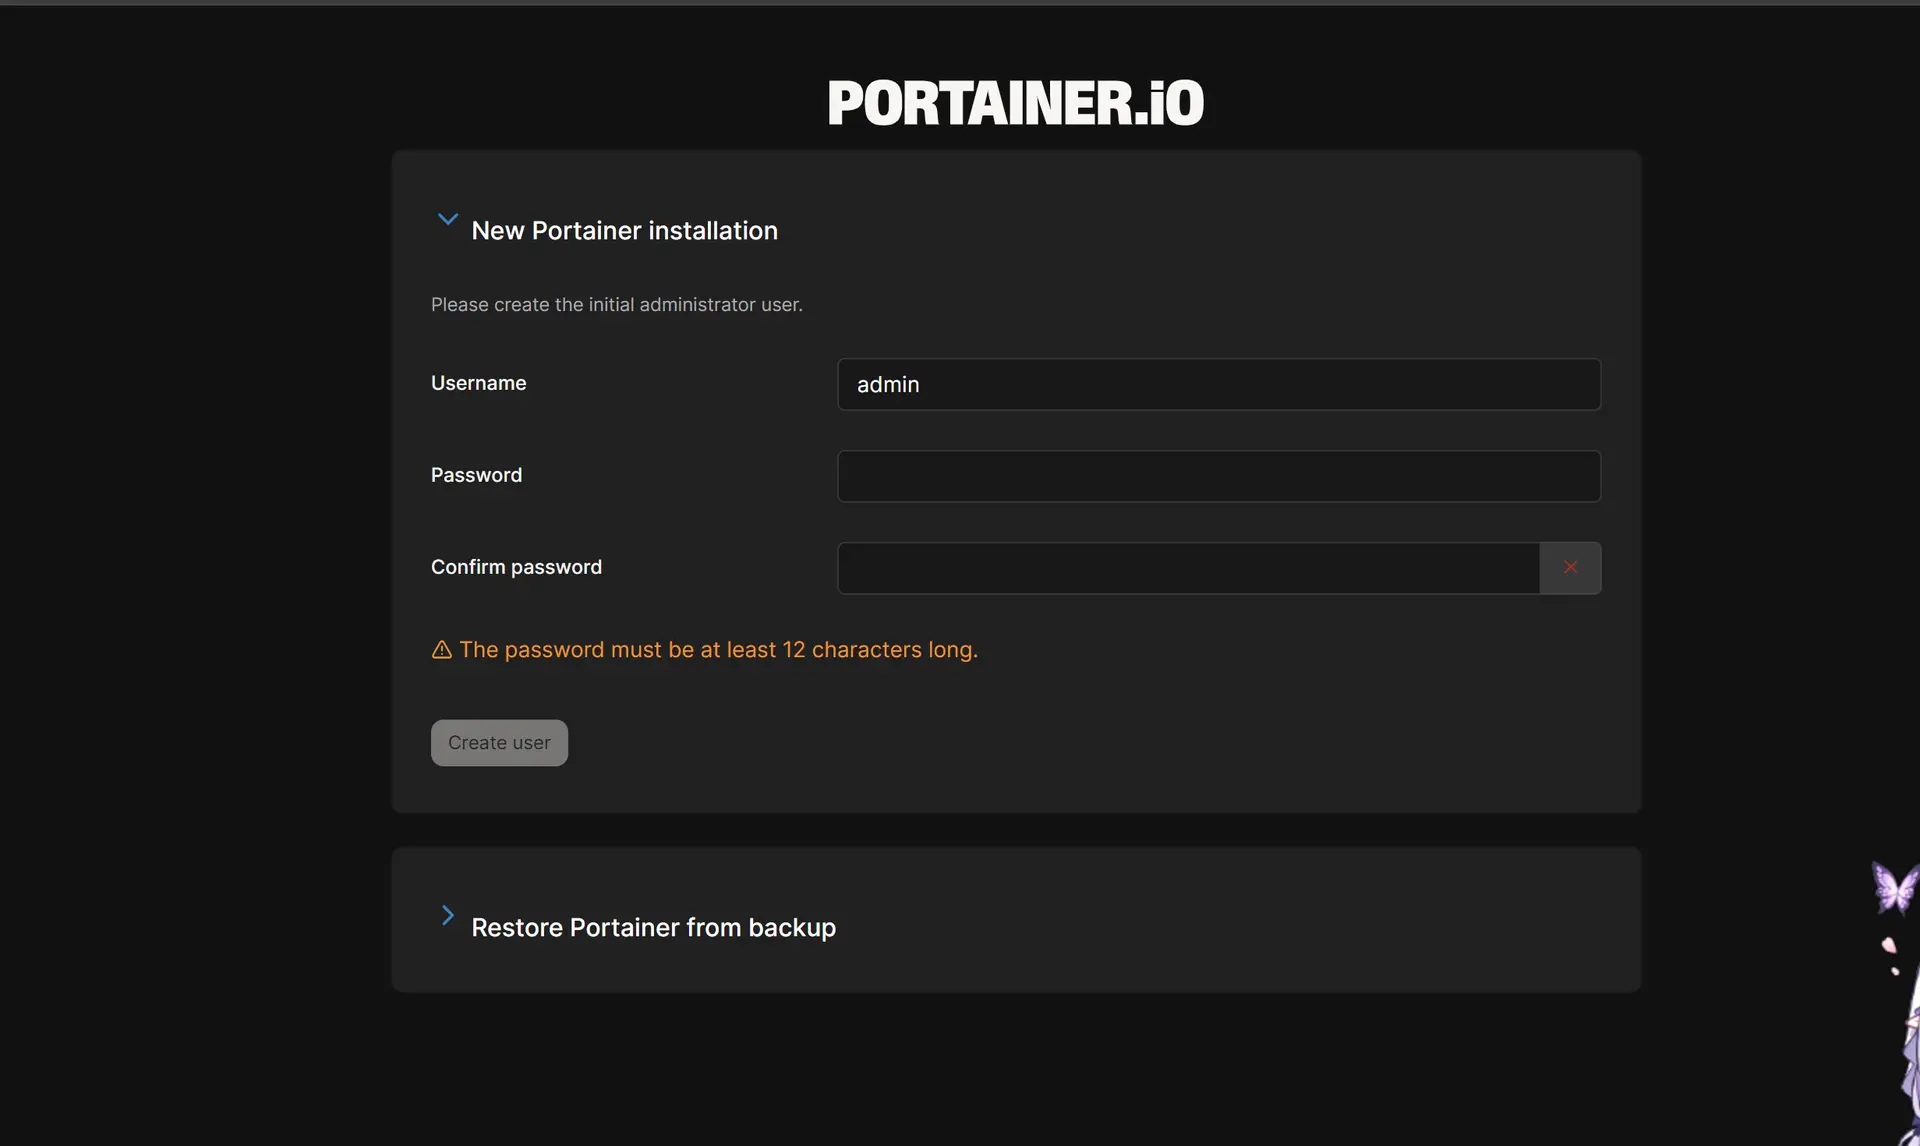
然后自己设置用户名和密码我们就会跳转到这个界面
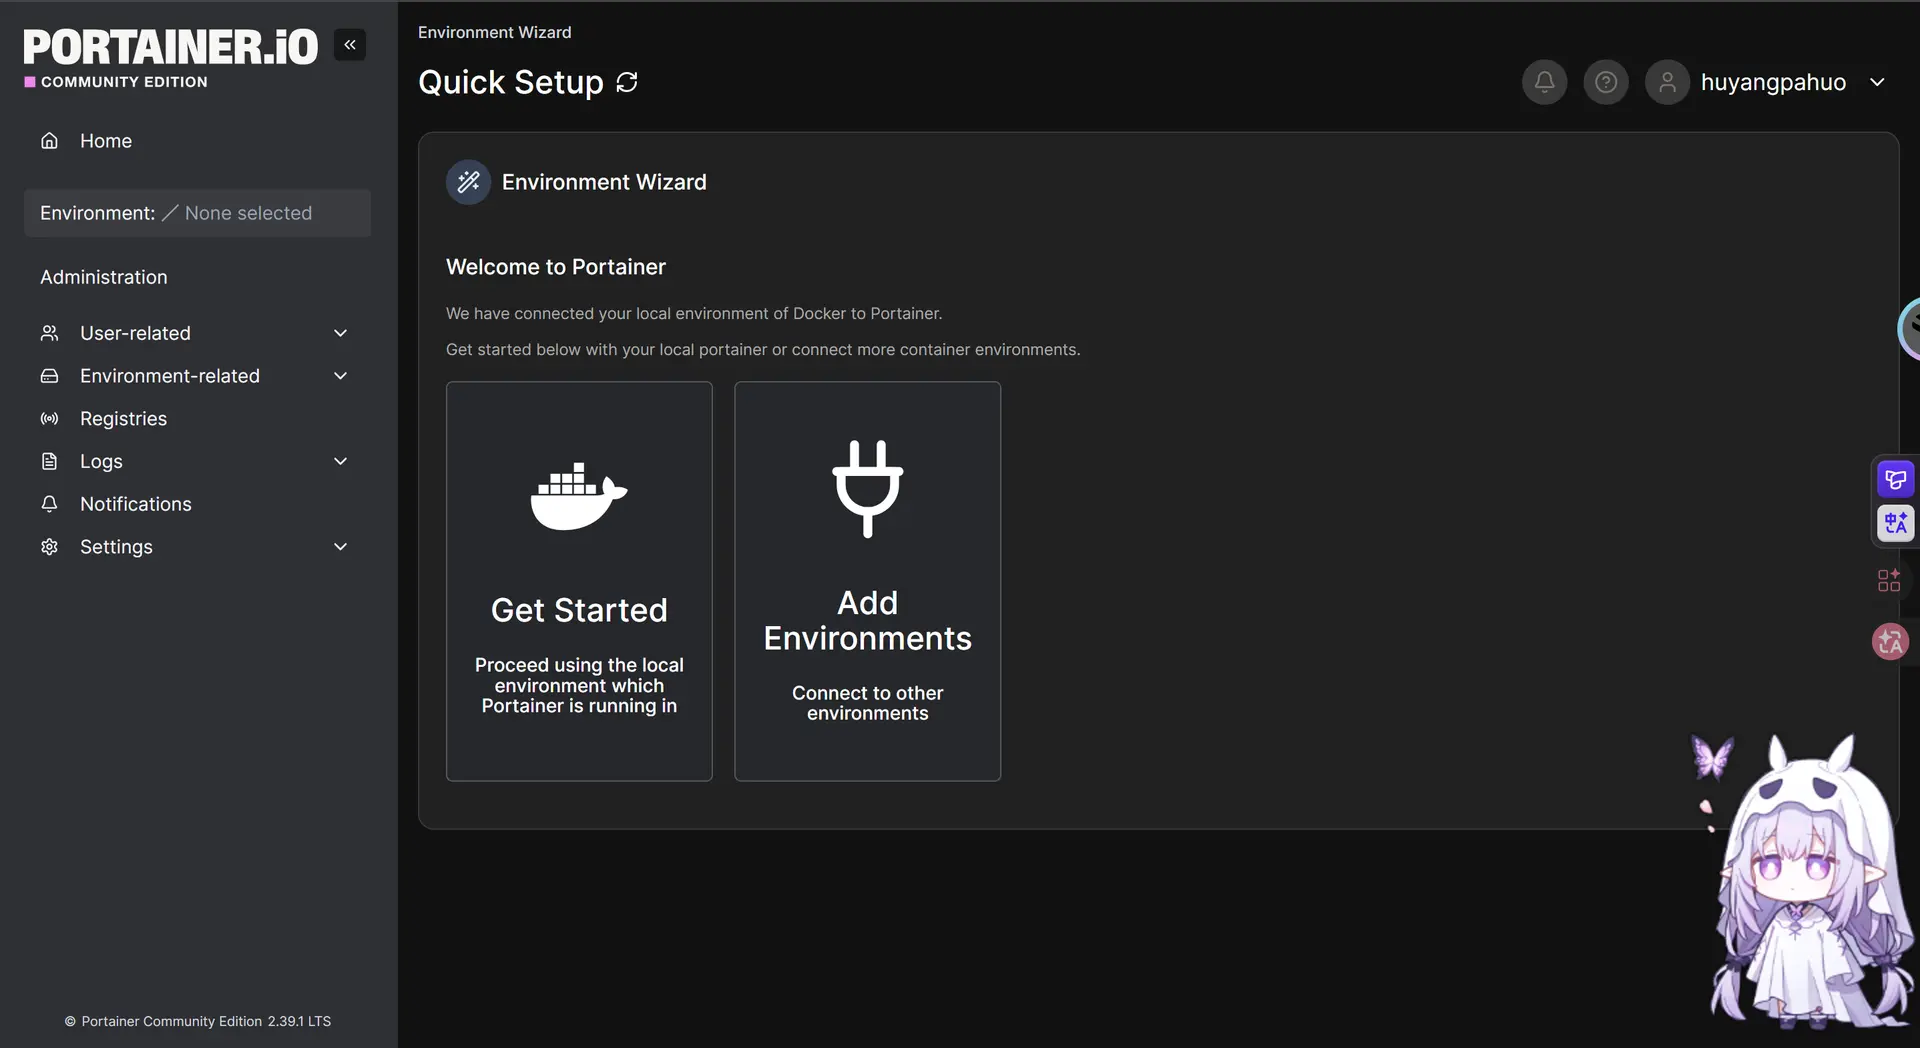
如果你的界面出现这个
New Portainer installation Your Portainer instance timed out for security purposes. To re-enable your Portainer instance, you will need to restart Portainer. For further information, view our documentation.
需要重启一下portainer面板
powershell
1
docker restart portainer
我们点击这个Get Started Docker的鲸鱼图案进入这个面板
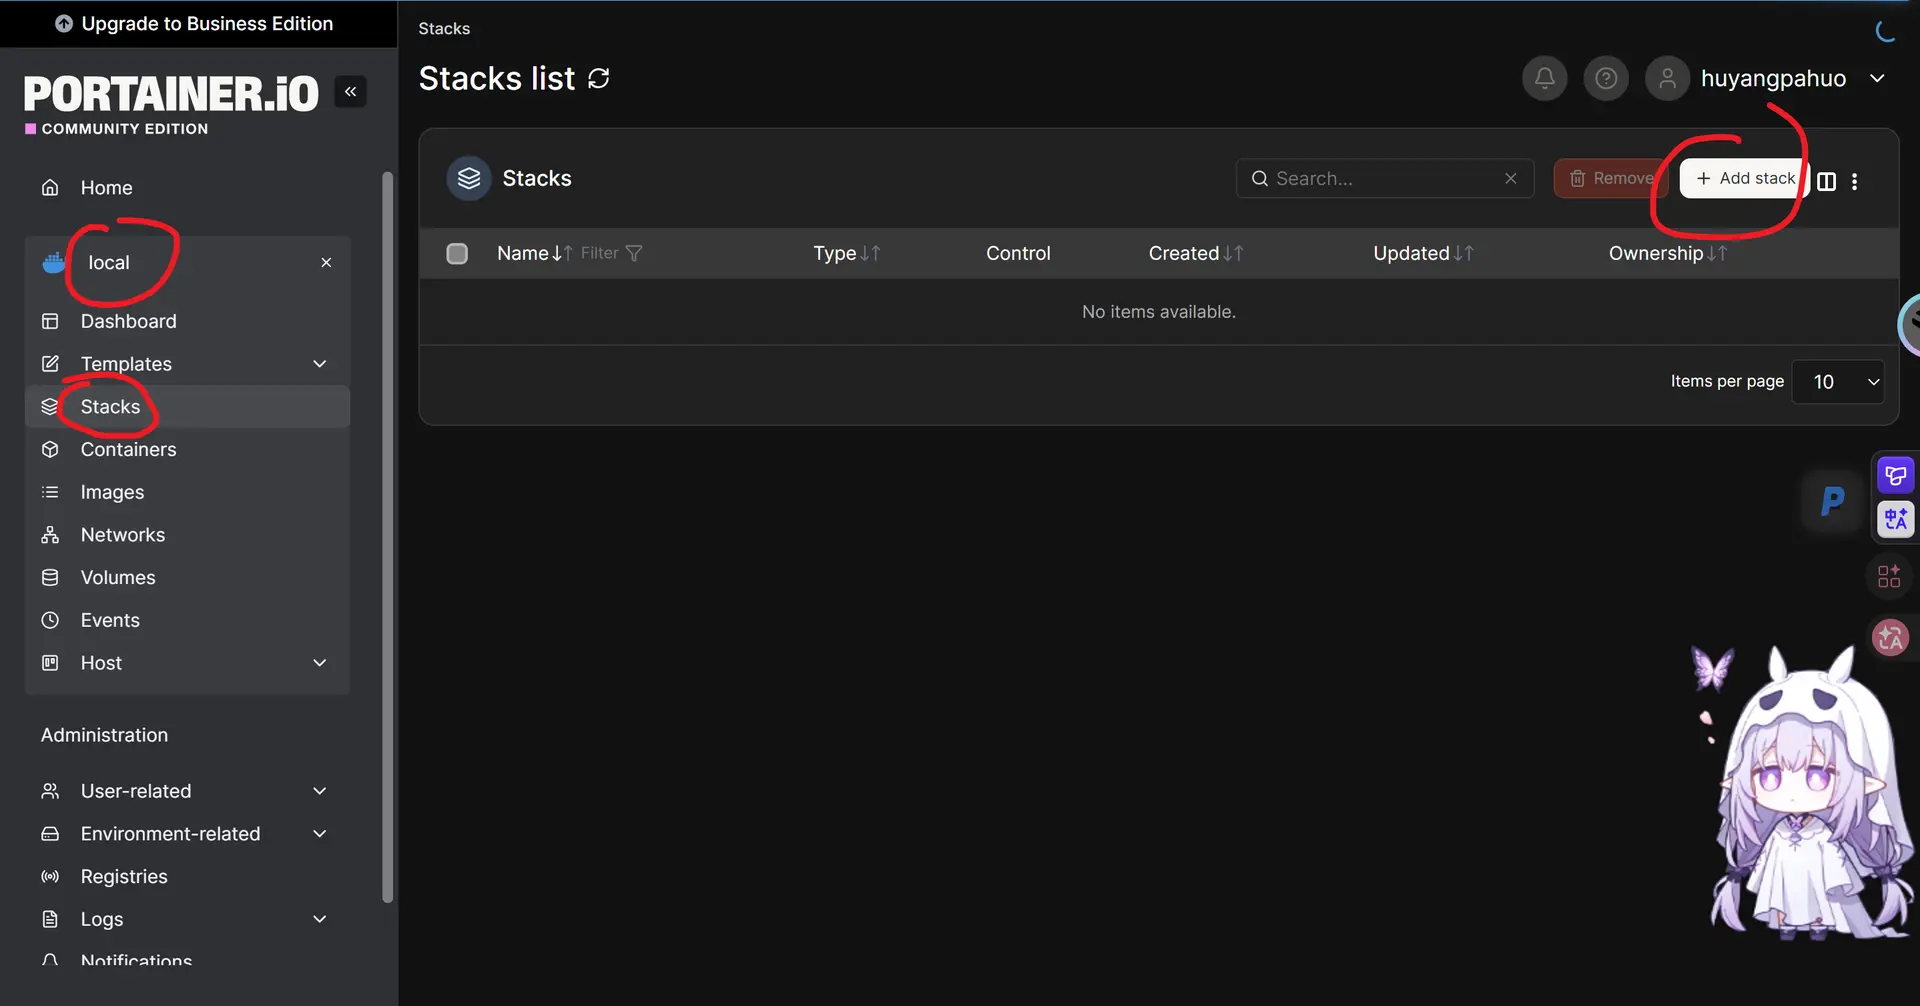
依此点击local ->Stacks->Add stack
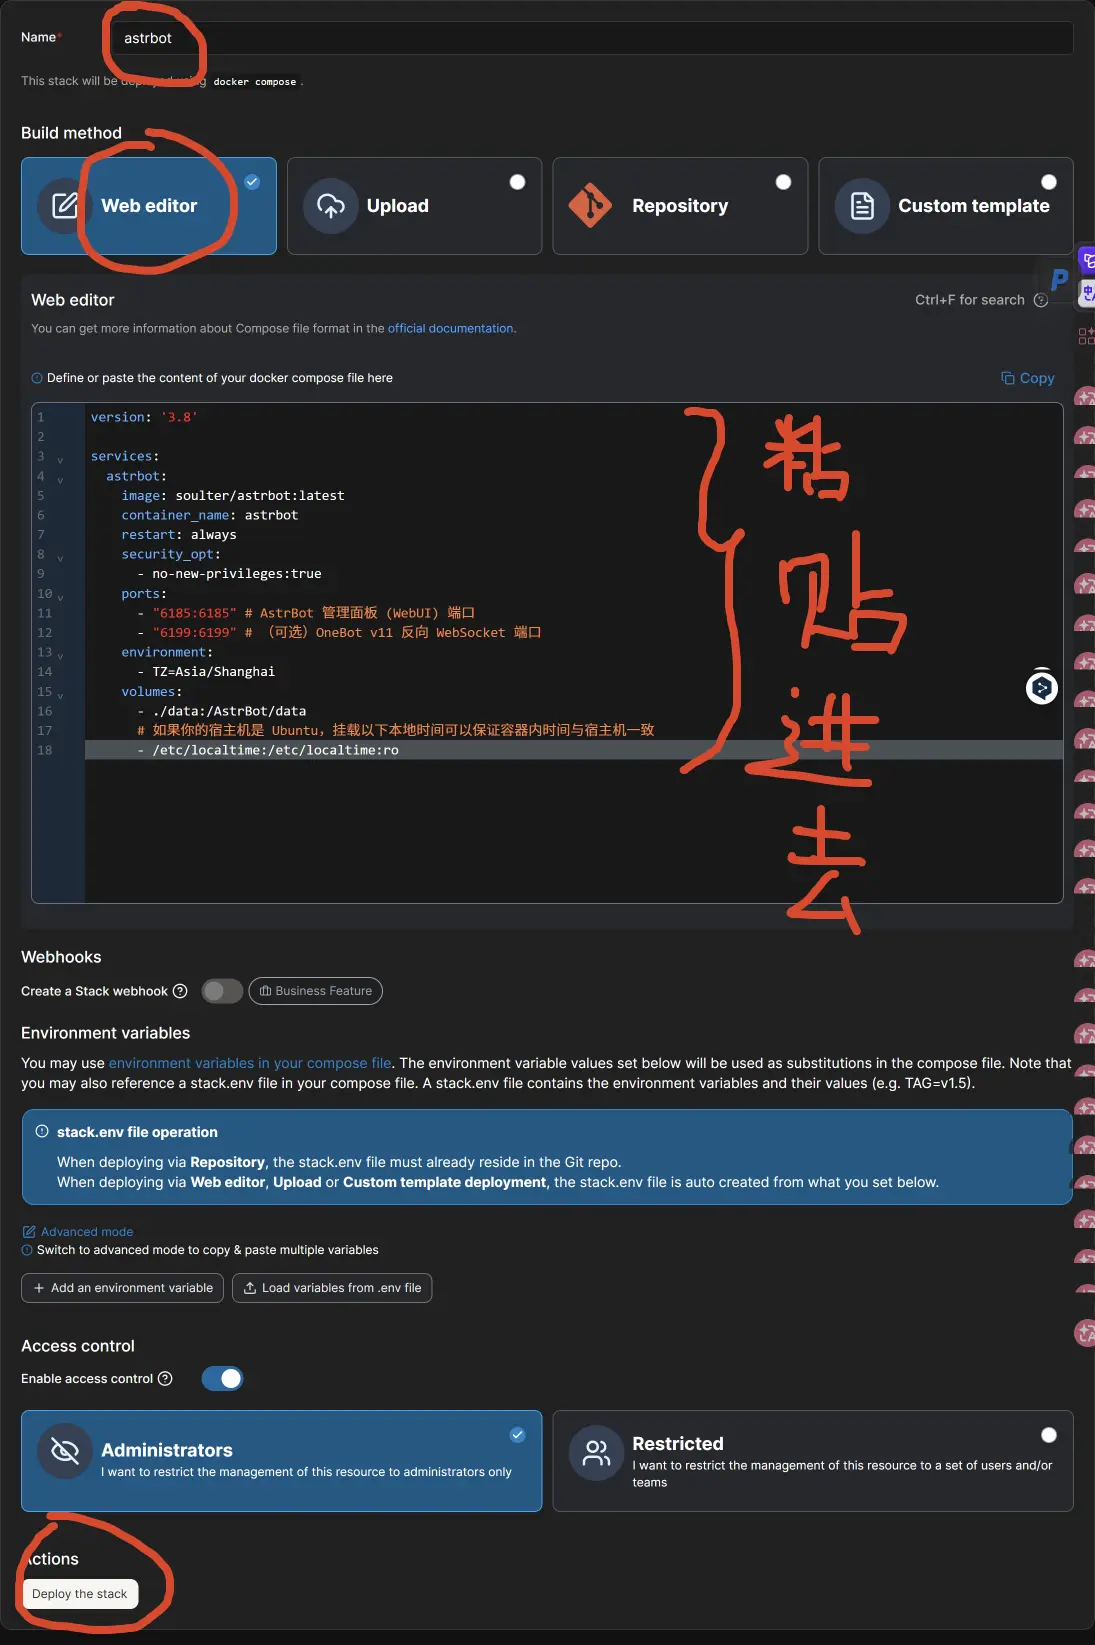
yaml
123456789101112131415161718
version: '3.8'

services:
  astrbot:
    image: soulter/astrbot:latest
    container_name: astrbot
    restart: always
    security_opt:
      - no-new-privileges:true
    ports:
      - "6185:6185" # AstrBot 管理面板 (WebUI) 端口
      - "6199:6199" # (可选)OneBot v11 反向 WebSocket 端口
    environment:
      - TZ=Asia/Shanghai
    volumes:
      - ./data:/AstrBot/data
      # 如果你的宿主机是 Ubuntu,挂载以下本地时间可以保证容器内时间与宿主机一致
      - /etc/localtime:/etc/localtime:ro
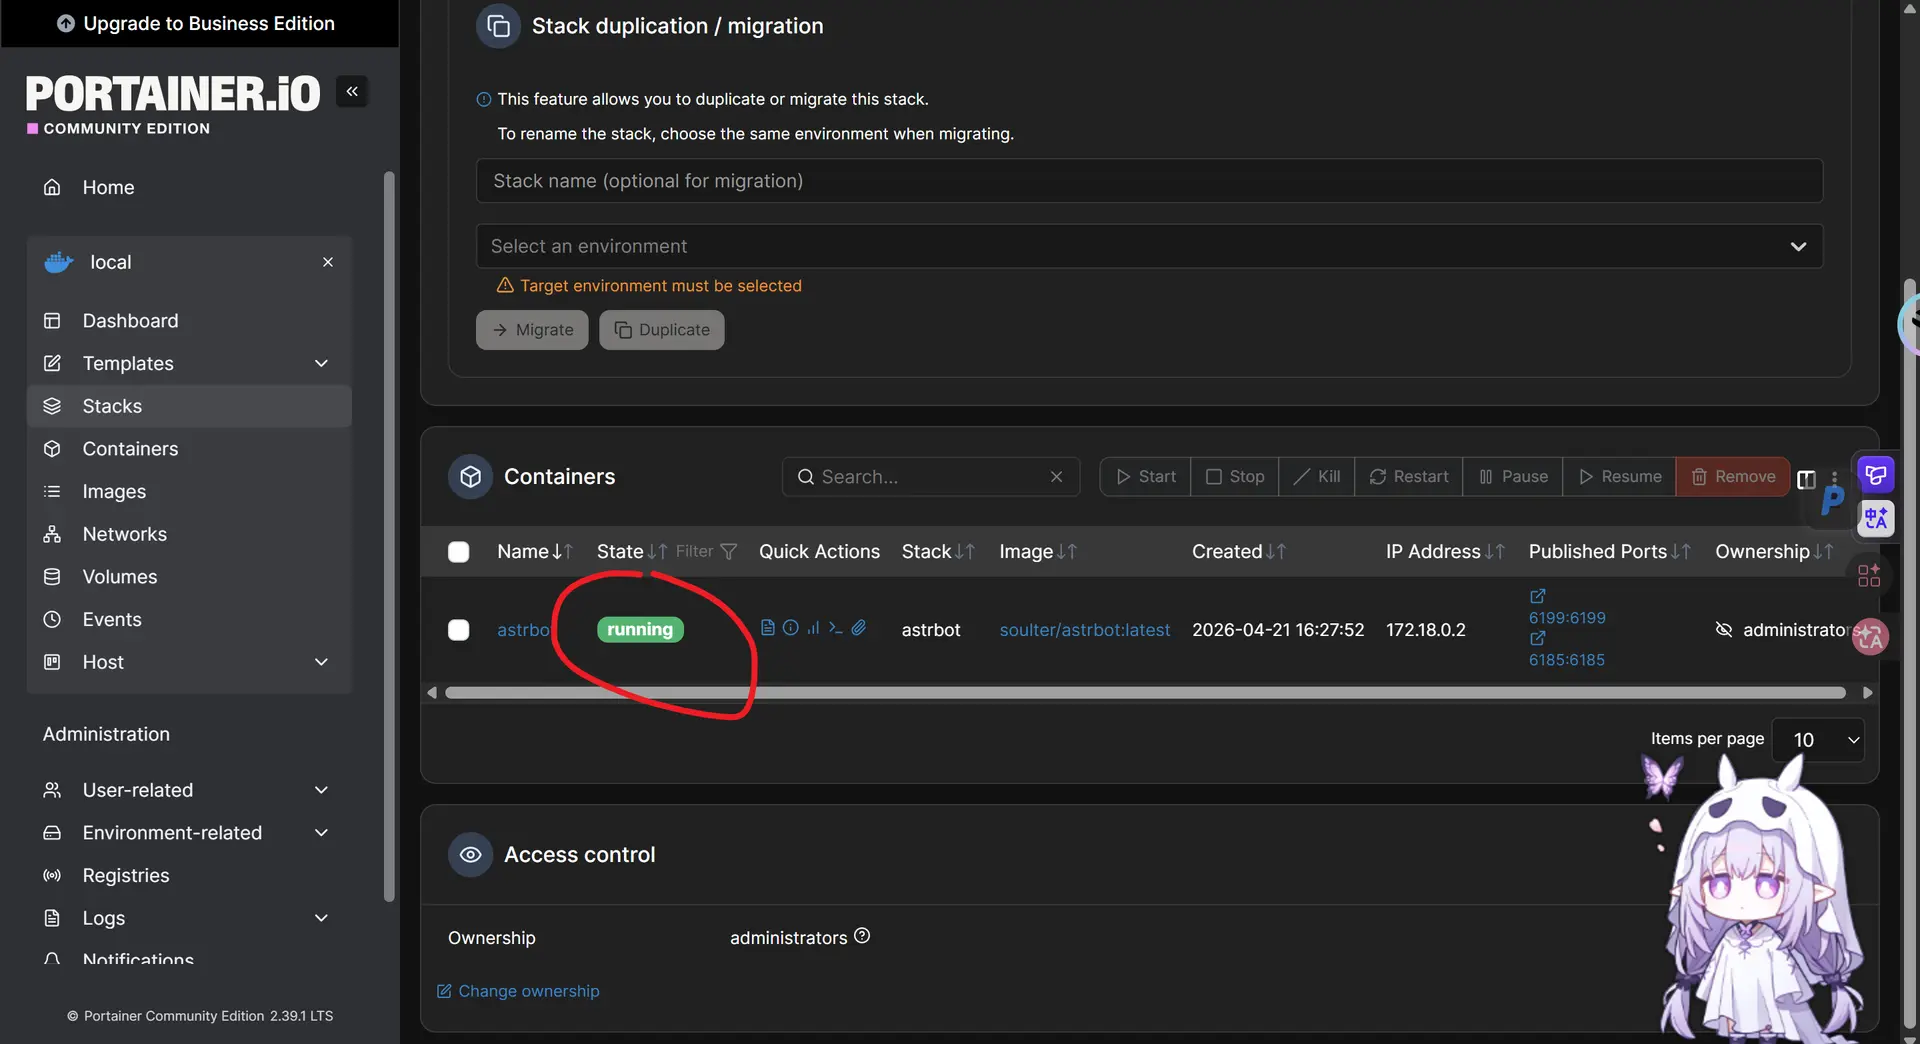
等一会之后,看到这个running之后
在浏览器输入
text
1
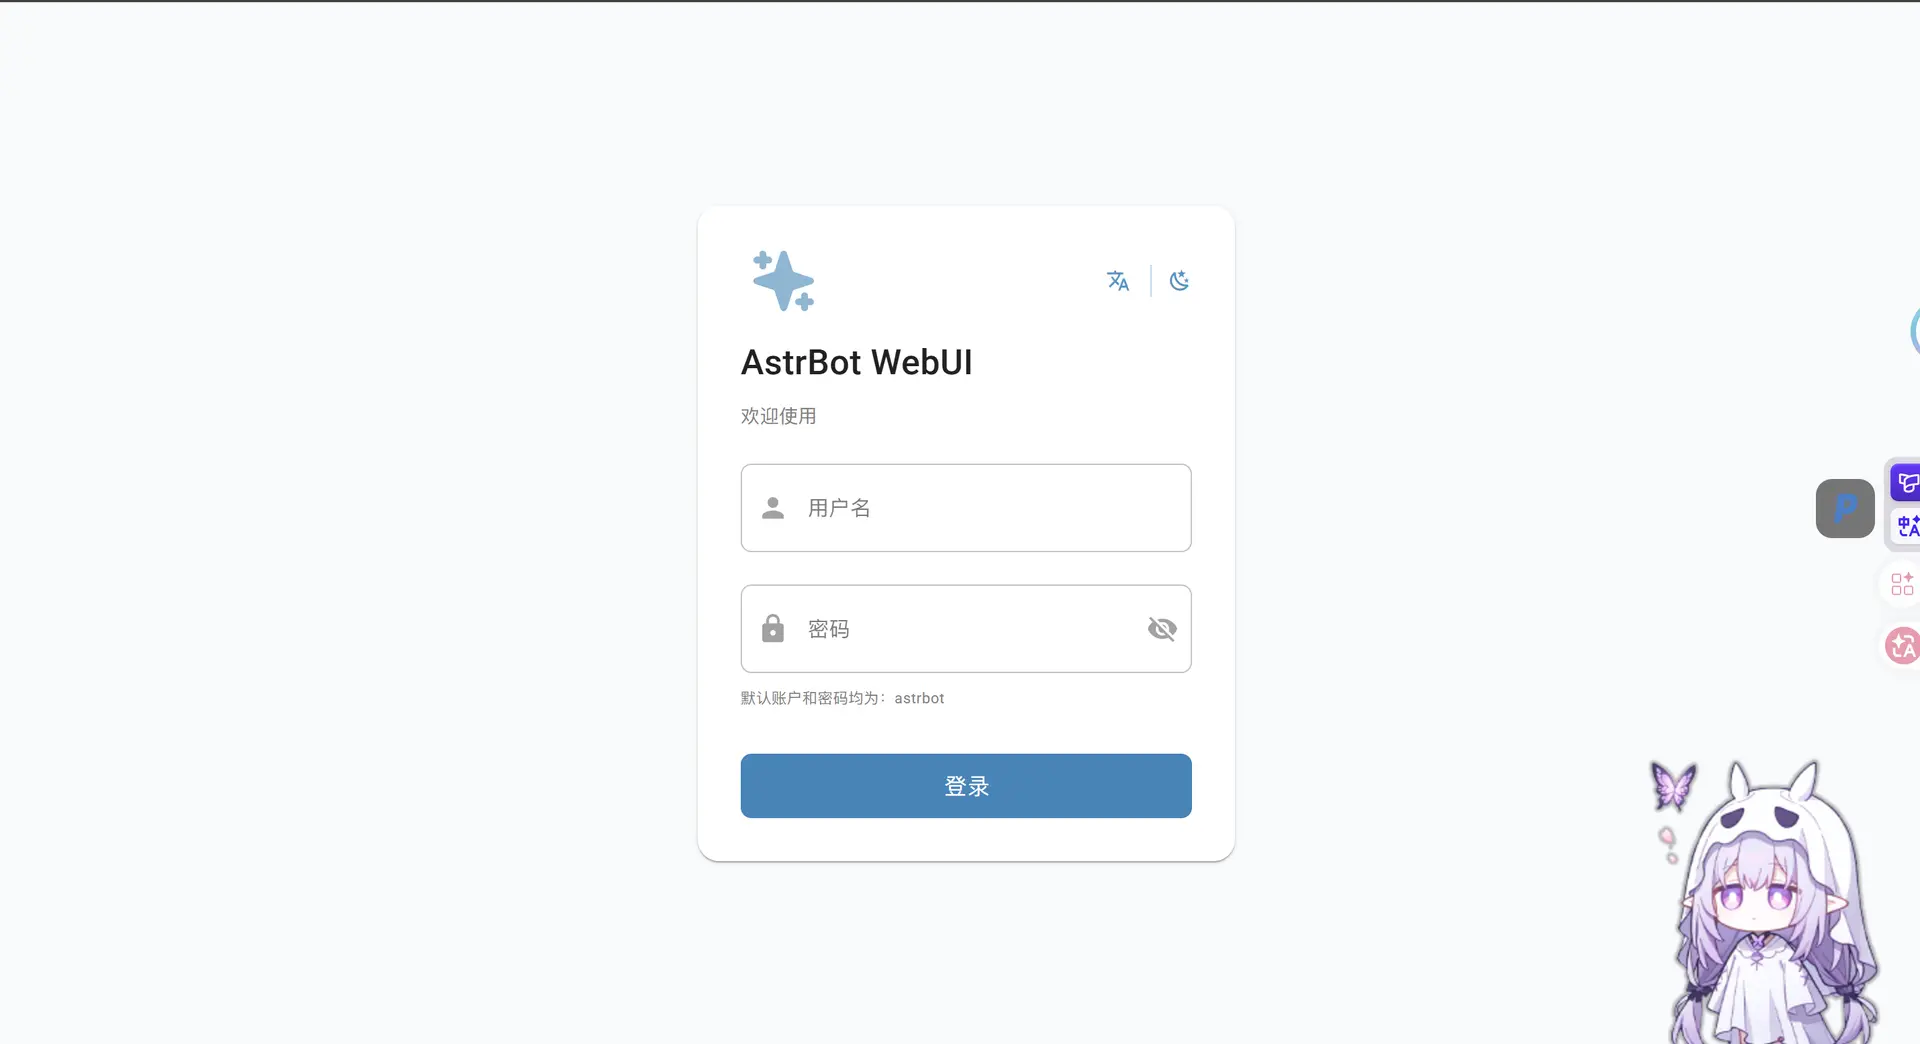
http://<你的 Ubuntu 服务器 IP>:6185
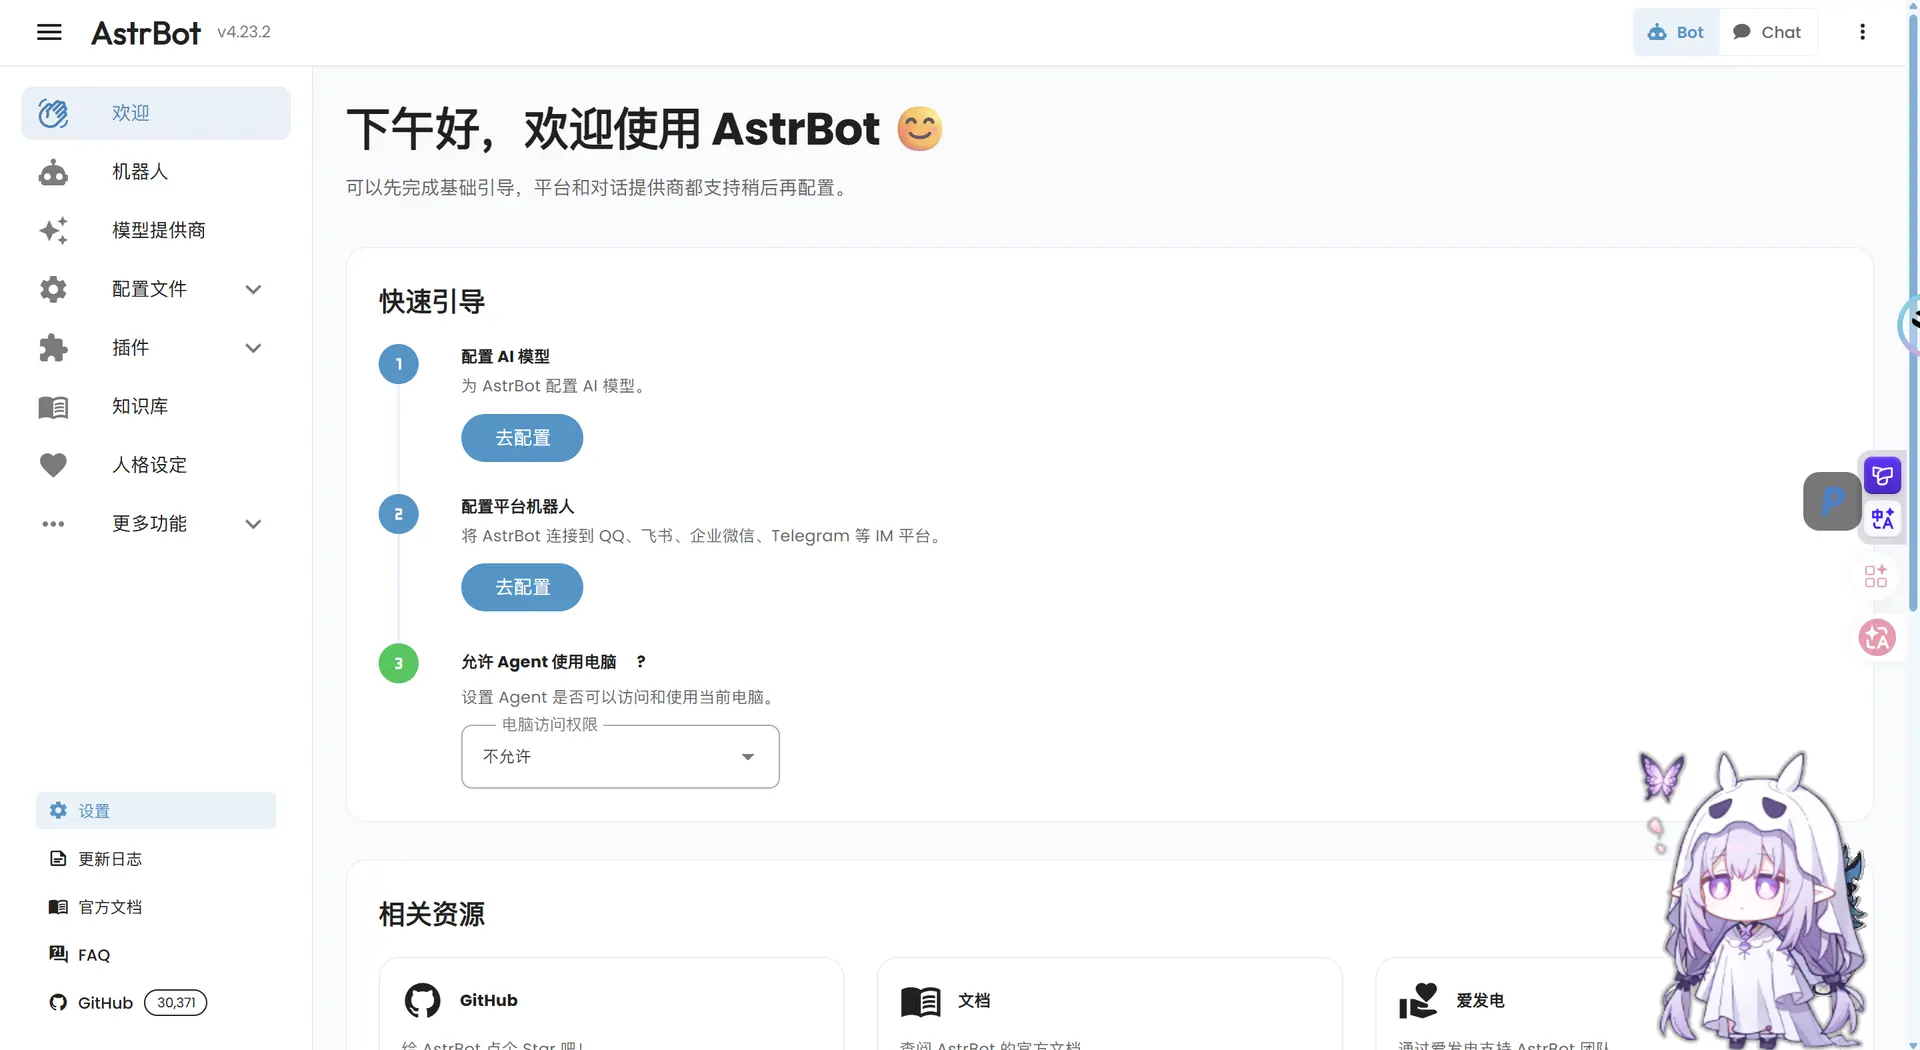
然后就来到了我们熟悉的界面
配置机器人
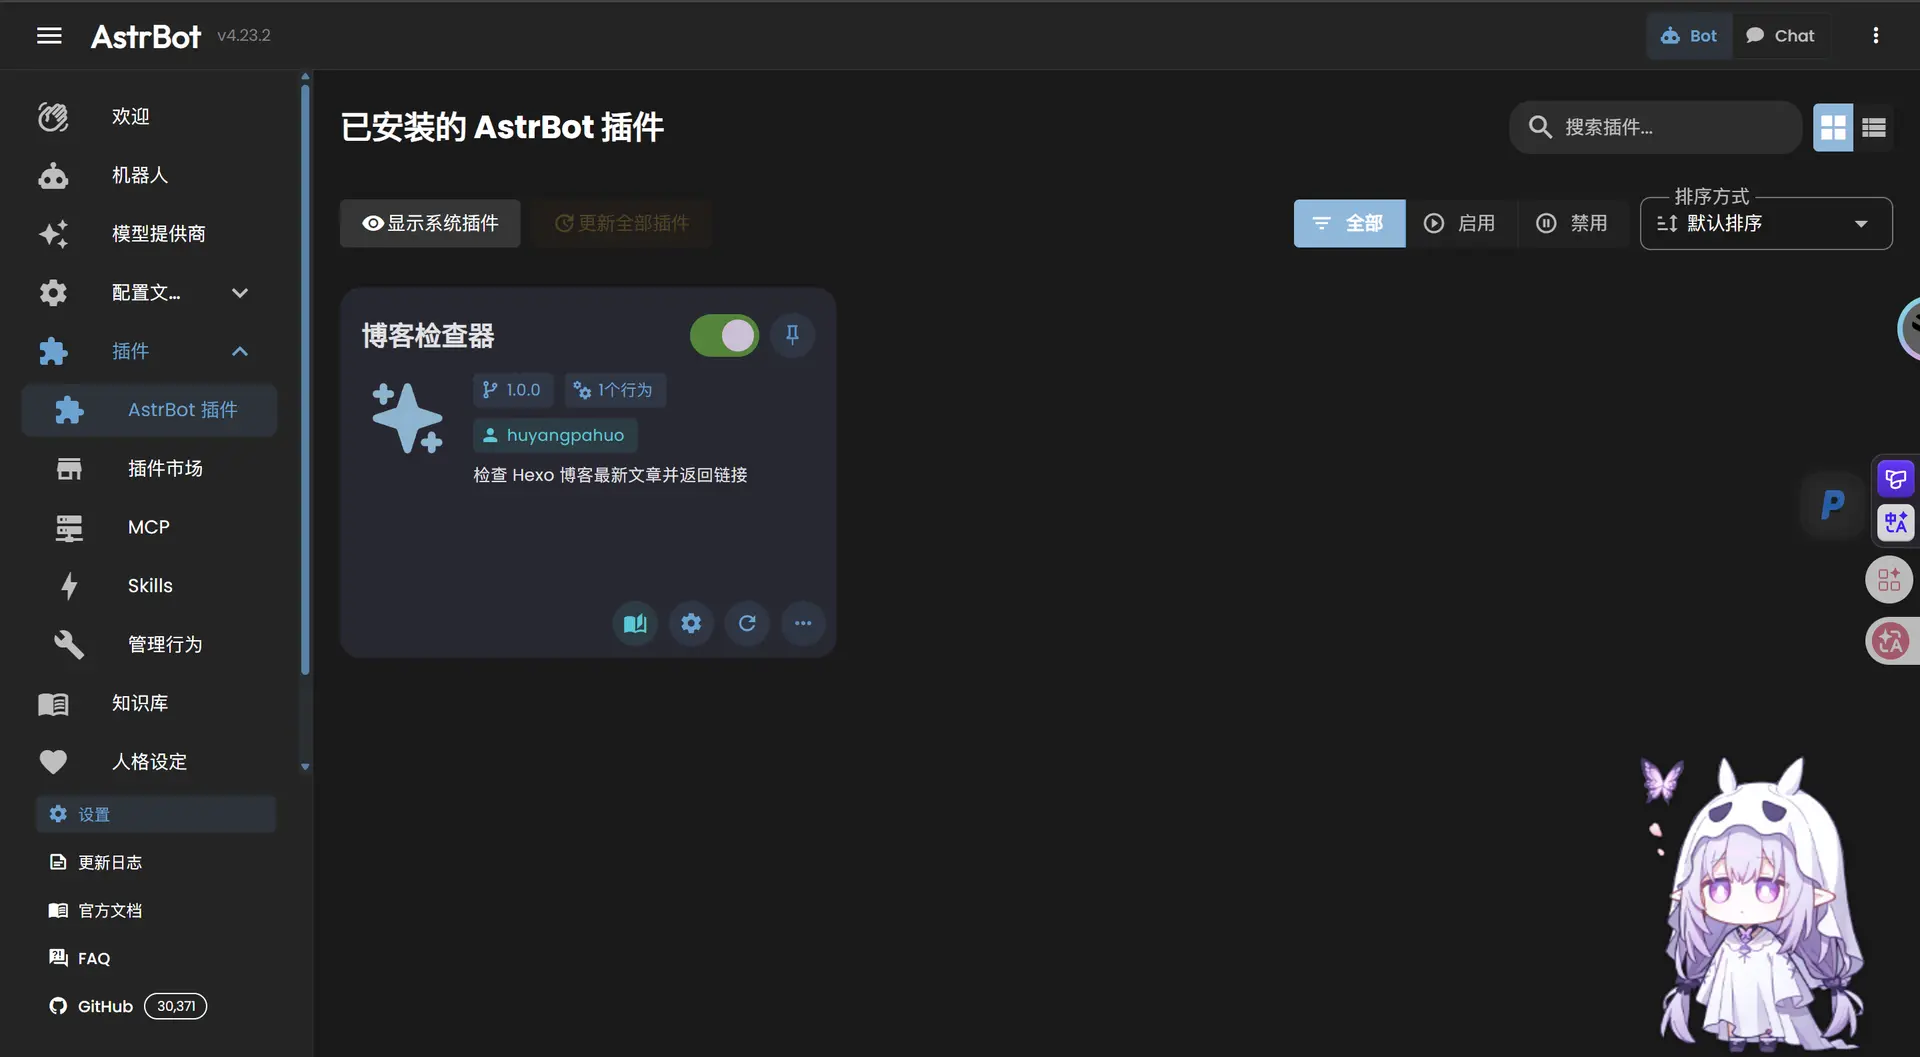
把我之前用AI制作的插件放进去,这个可以去查Astrbot的官方文档制作,或者你也可以安装插件市场别人的
比如角色扮演和信息查询和生图
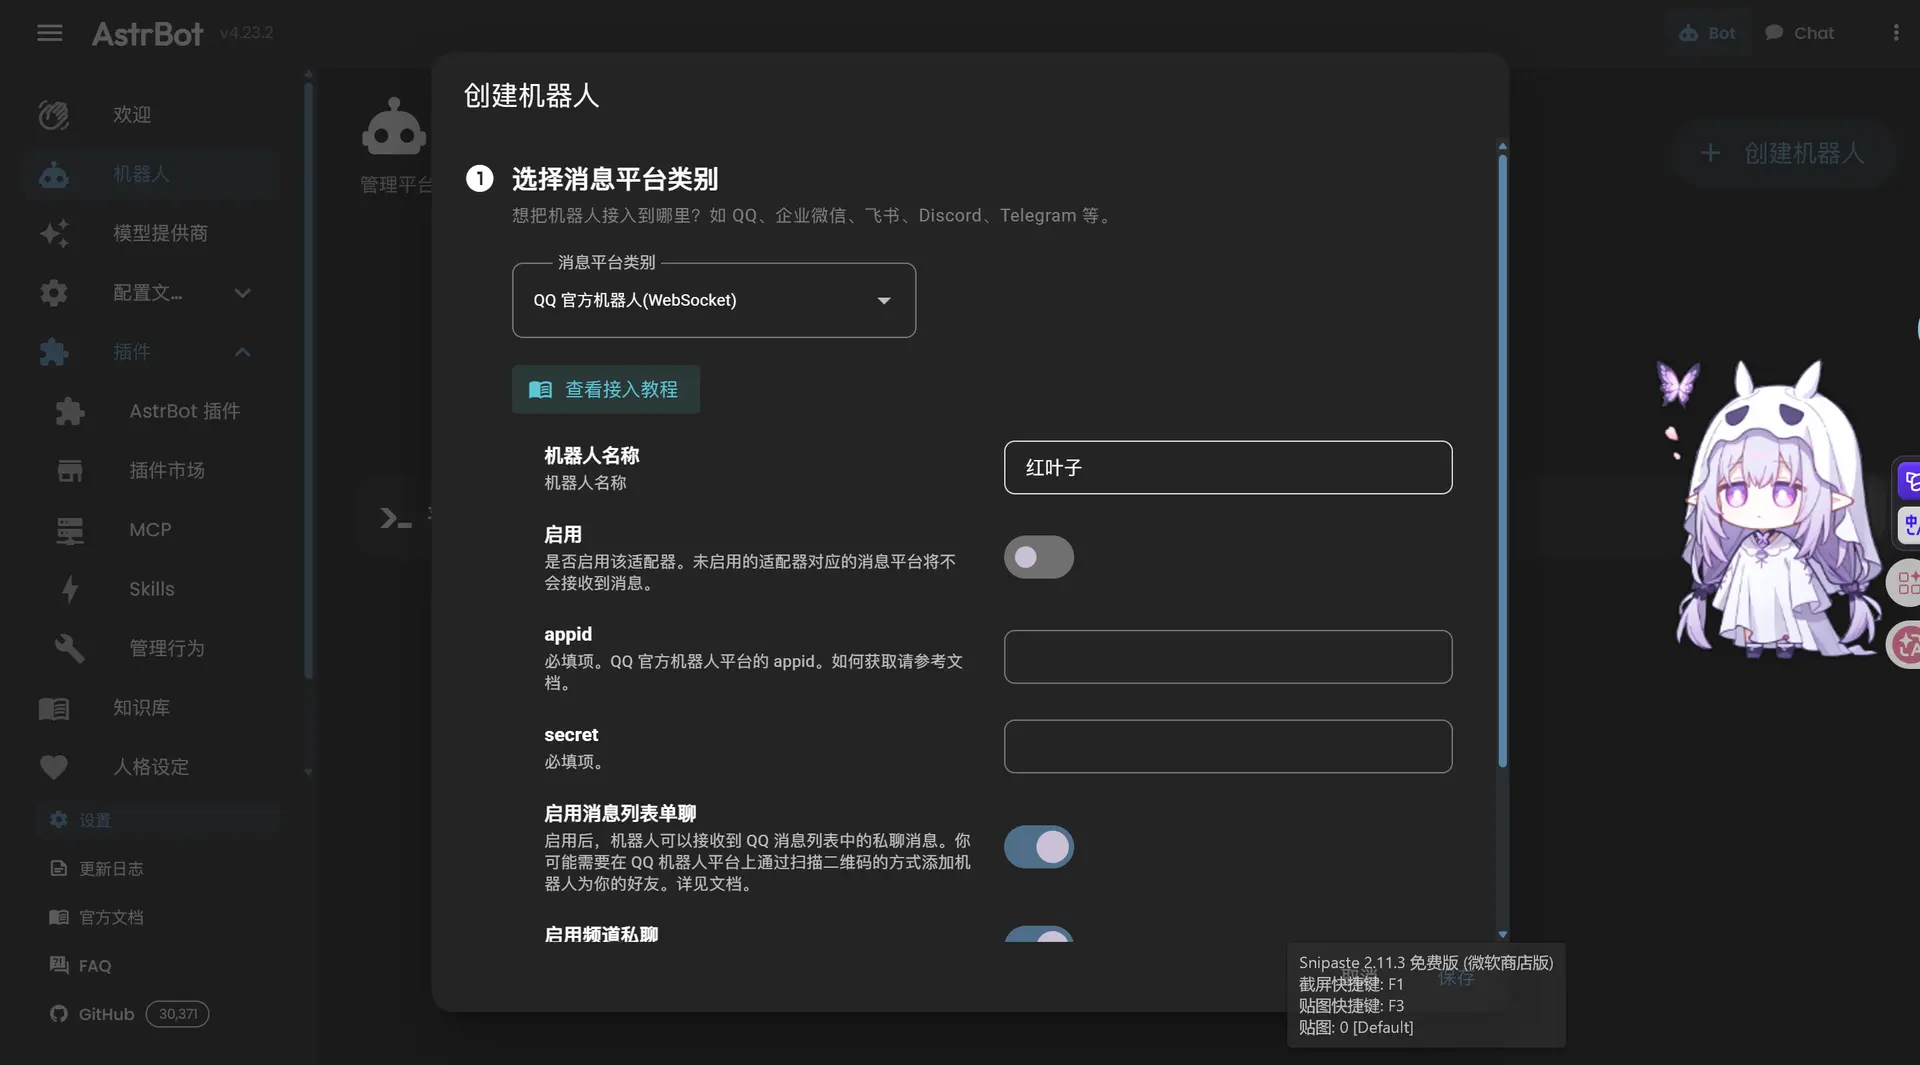
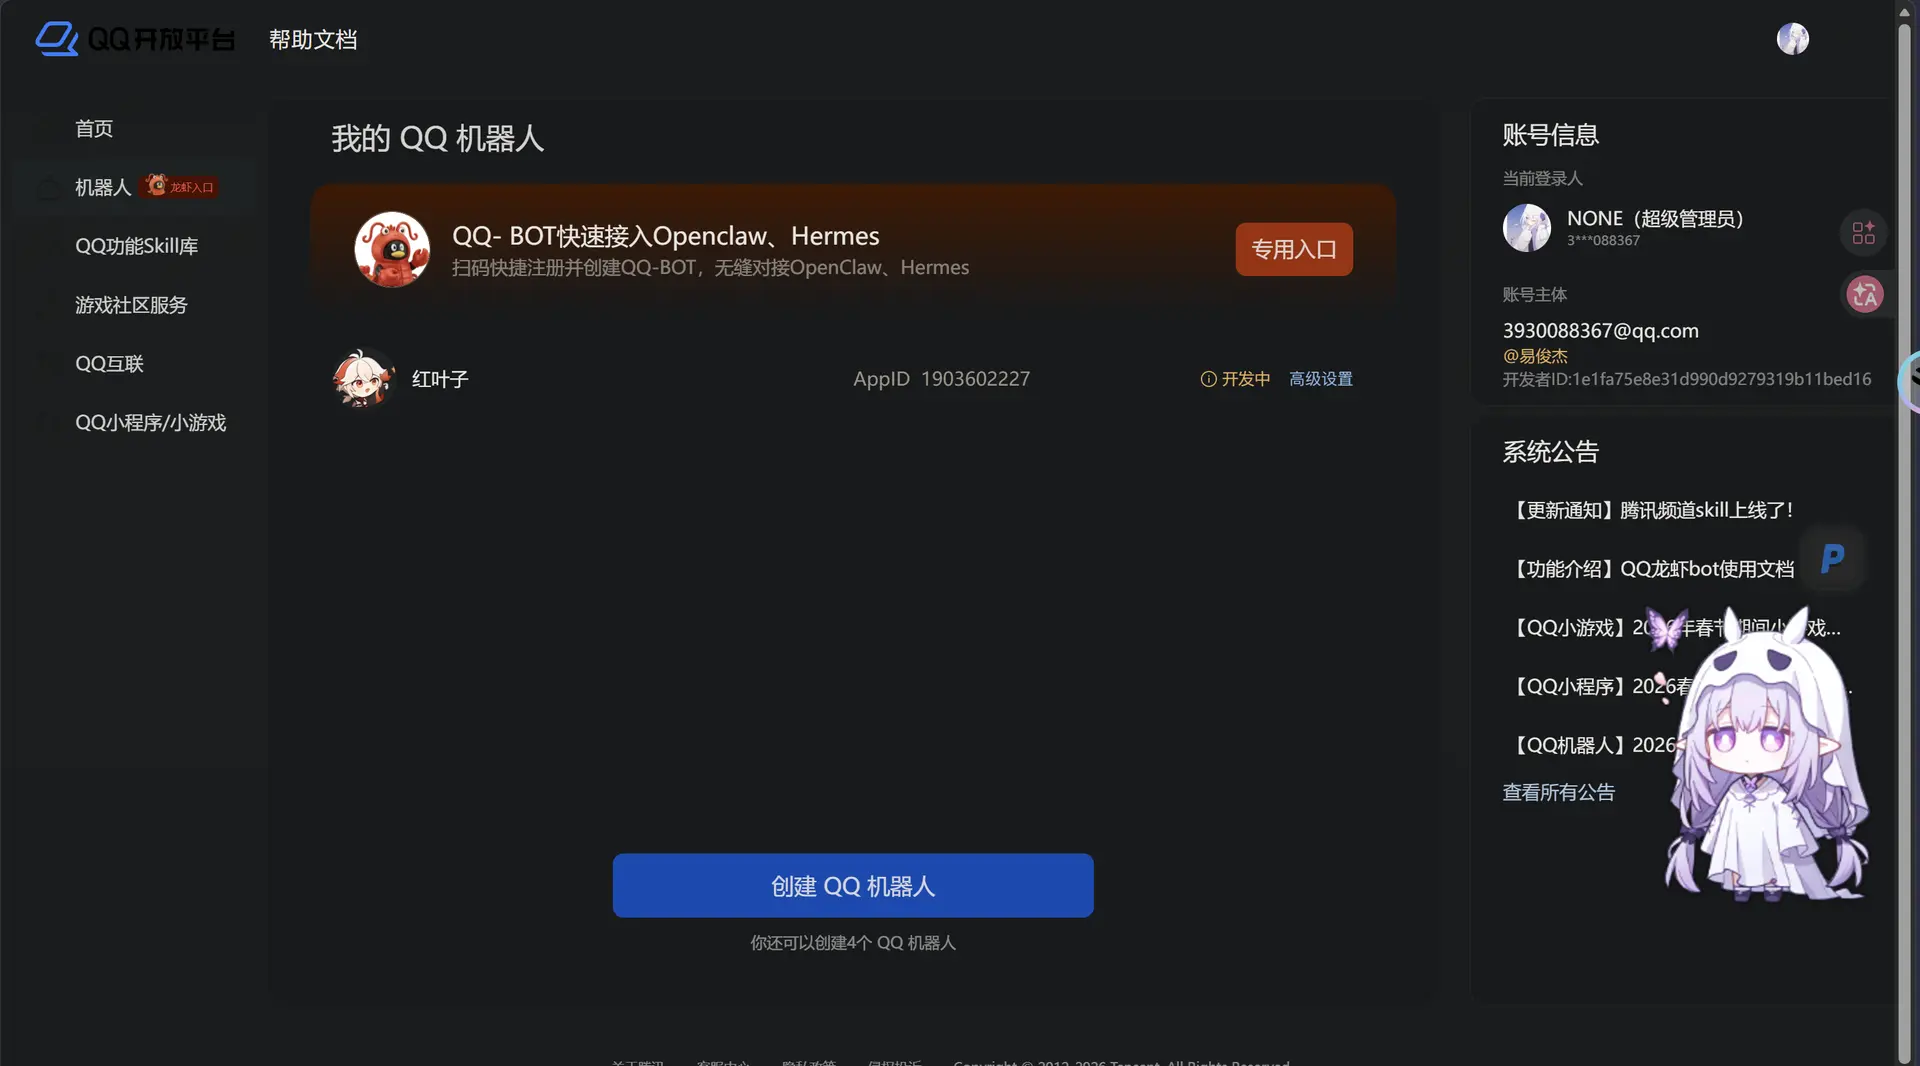
机器人的话需要去QQ的开放平台申请获得appid和secret
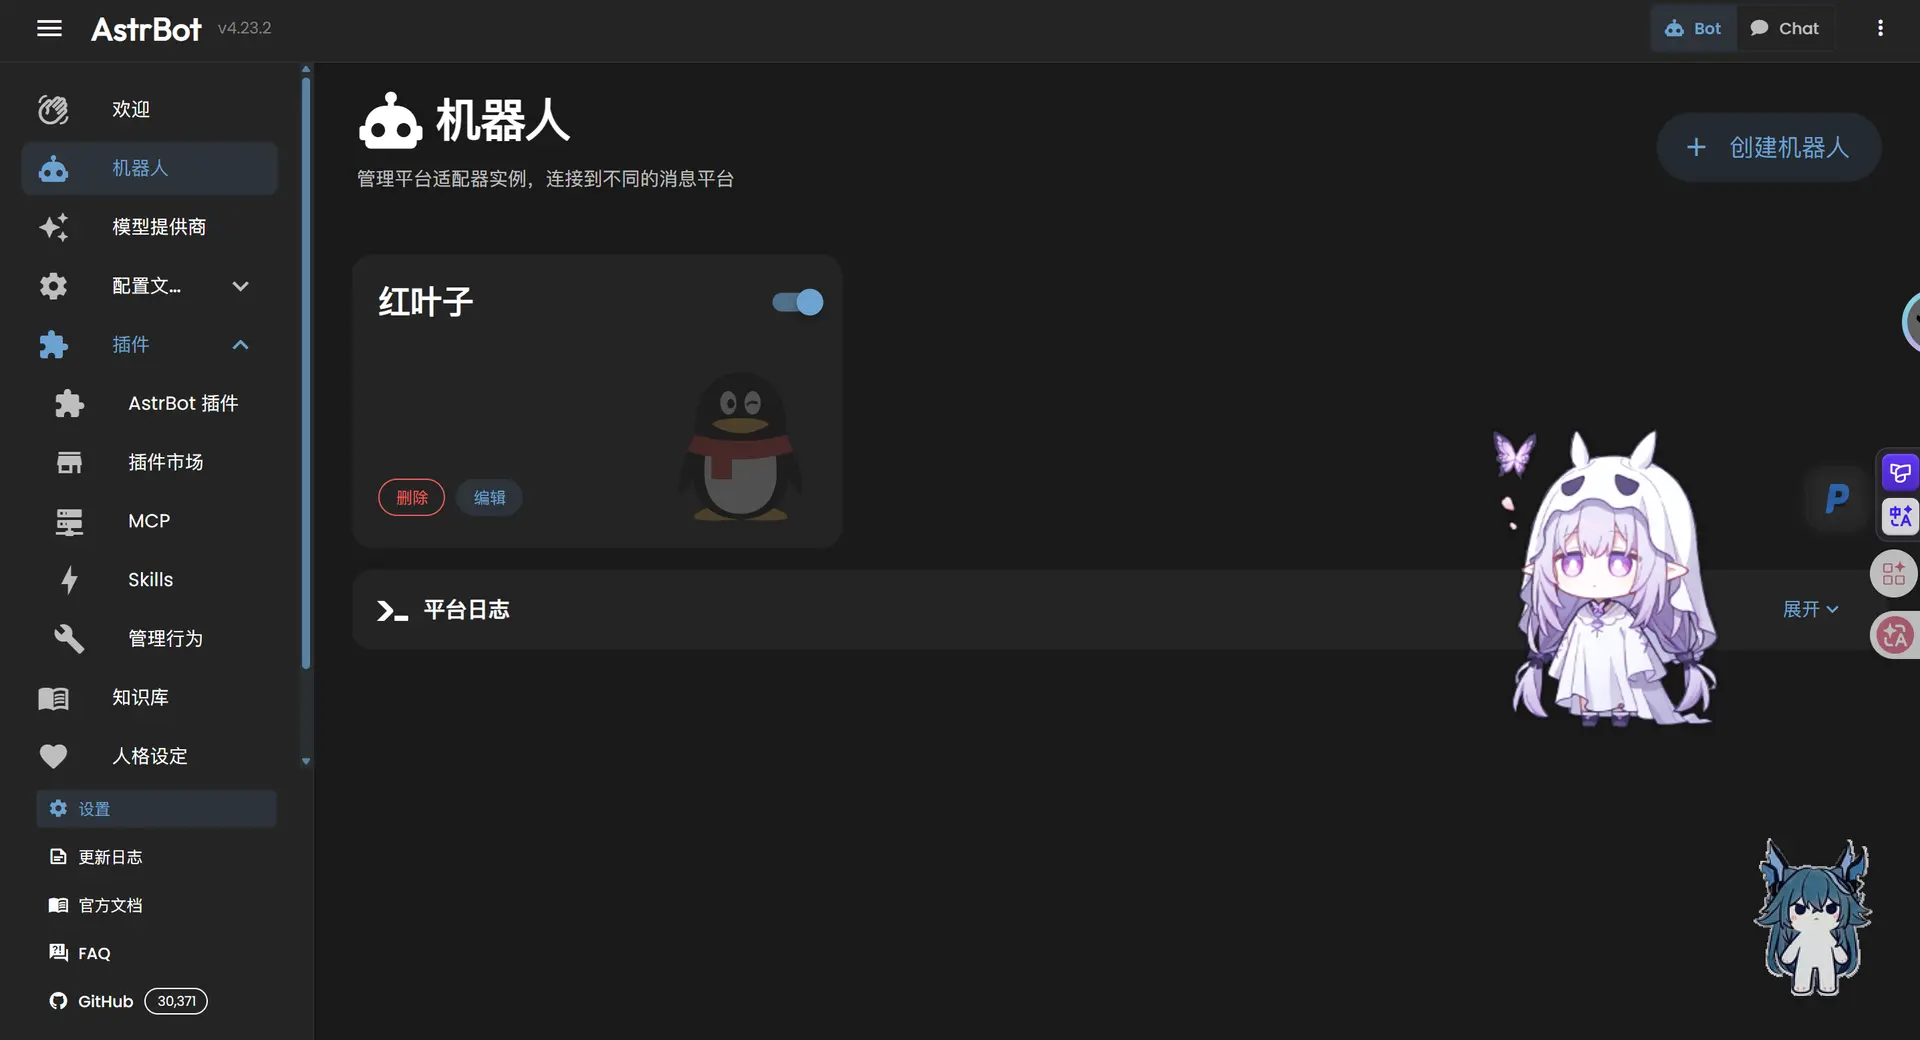
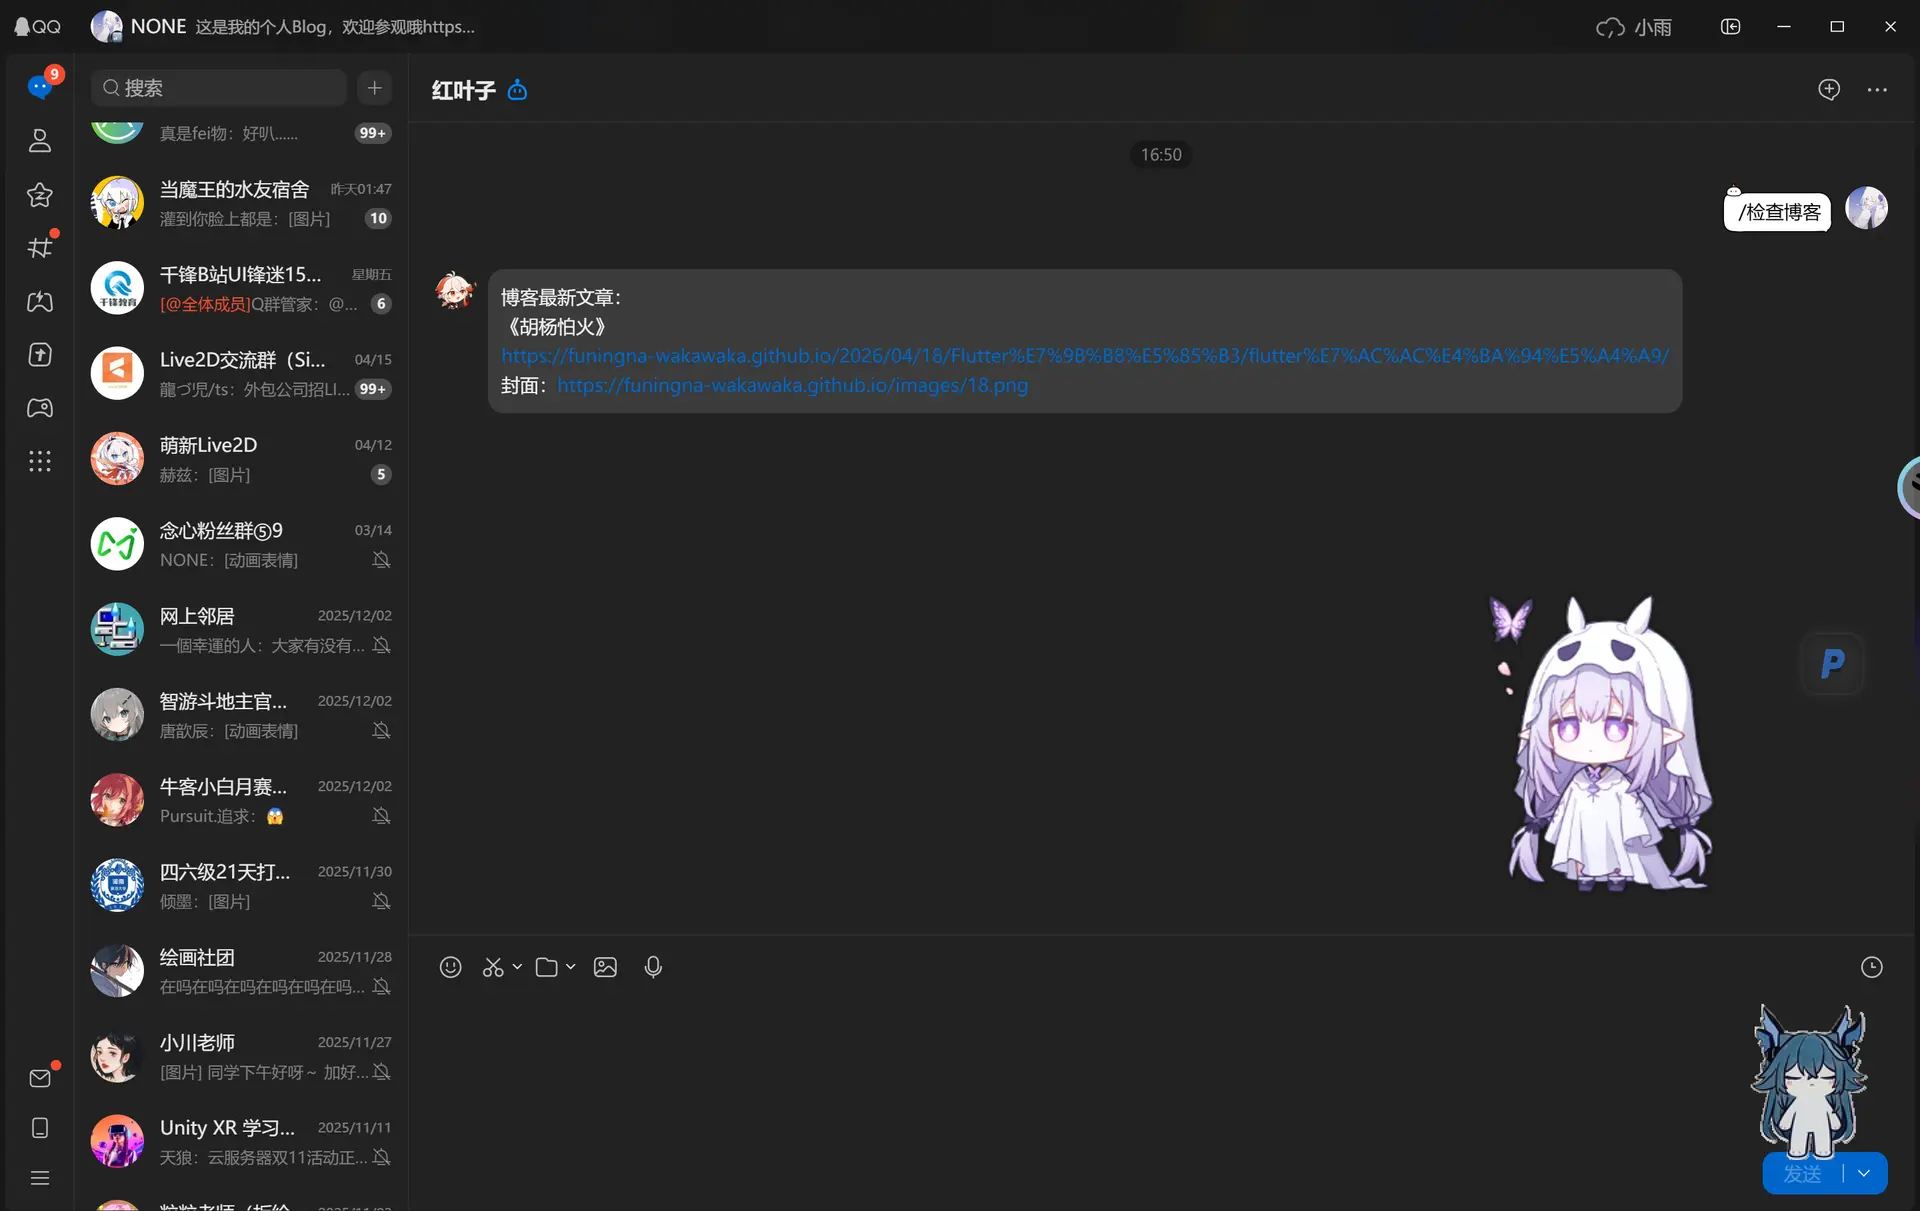
之后我们只需要输入这两个网址就行了
text
123
http://<你的服务器IP>:9000    //打开可视化界面

http://<你的服务器IP>:6185    //打开Astrbot
然后把机器人邀请进群即可