
如题,不过我买的时候买早了,导致我目前将近一个多月都没用
我挑选的是菲律宾马尼拉地区并预装Docker
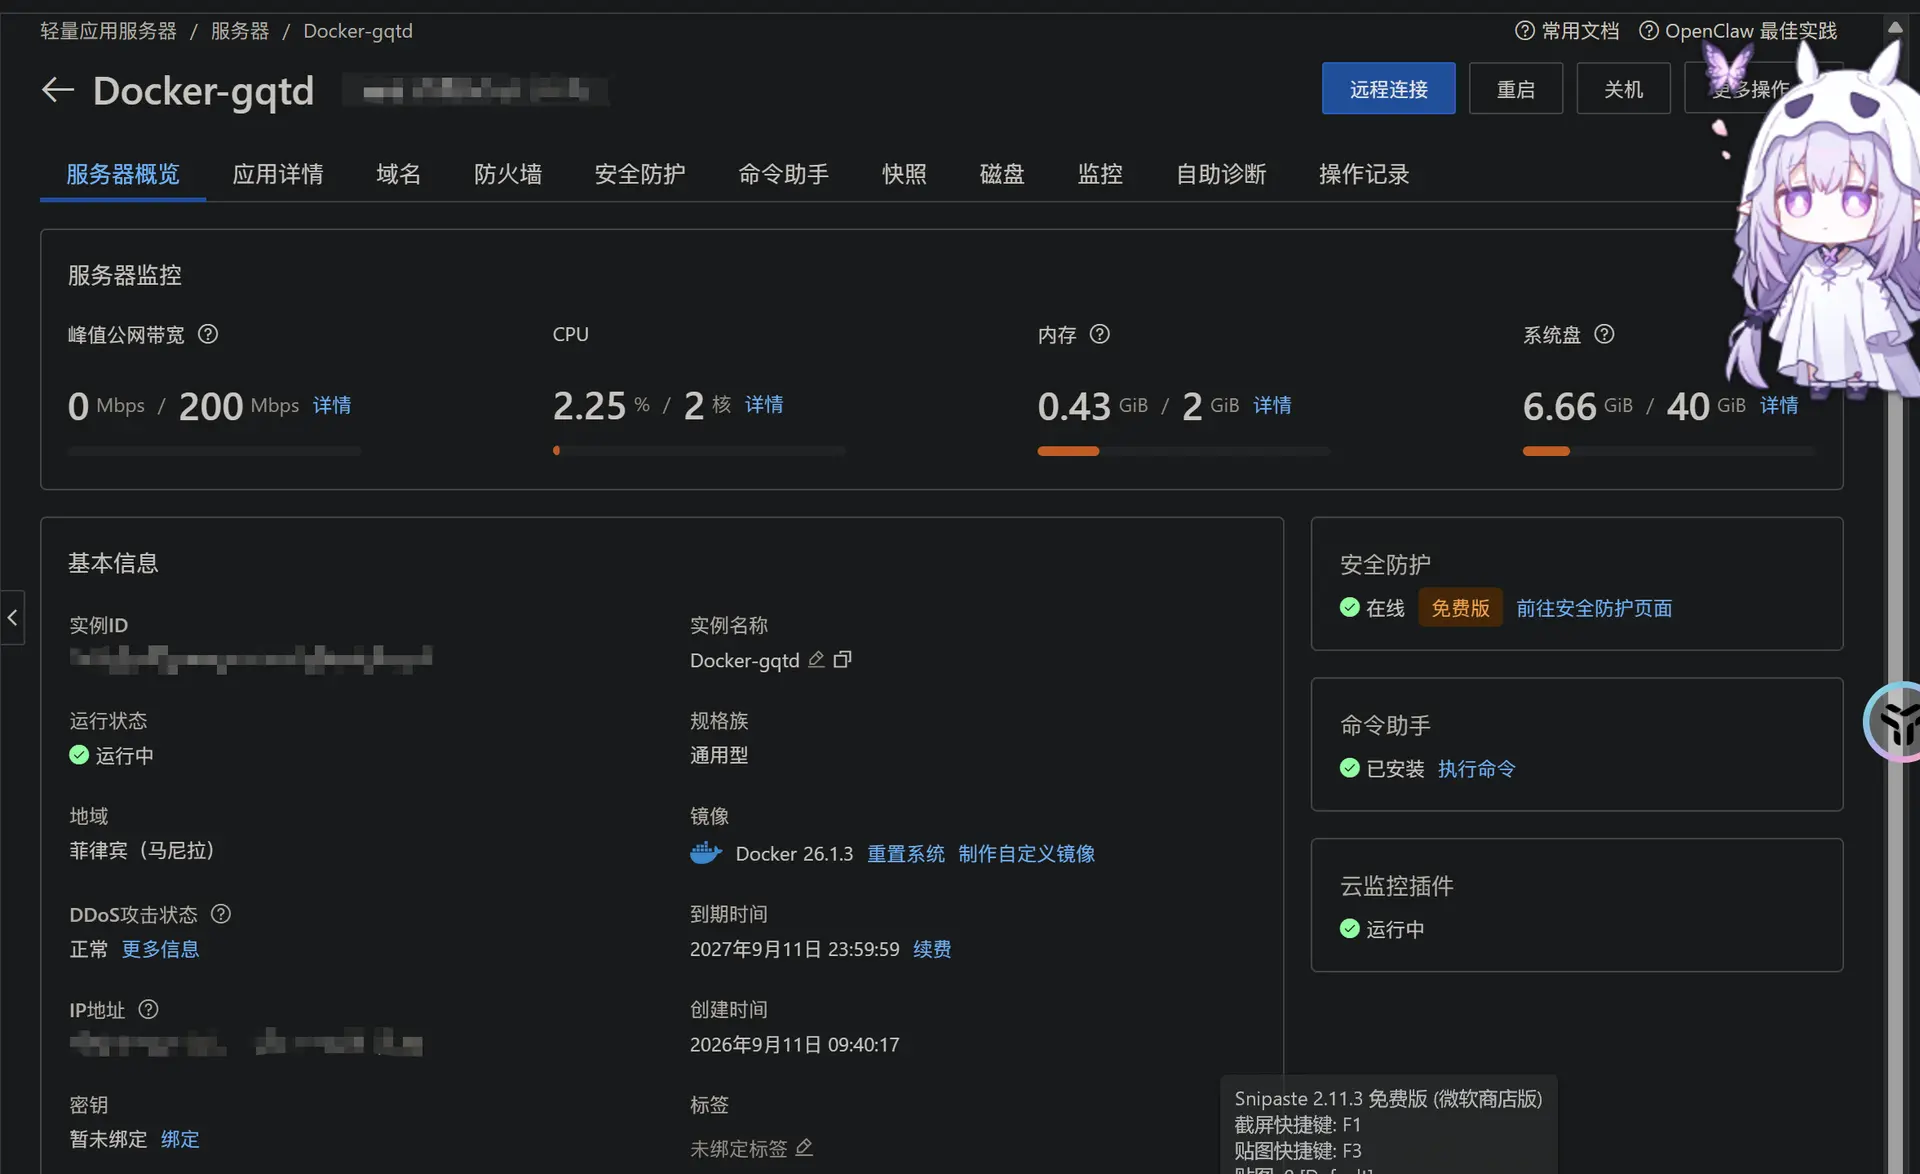
到手之后由于我不喜欢它自带的那个远程连接workbench的界面所以用termius连接吧
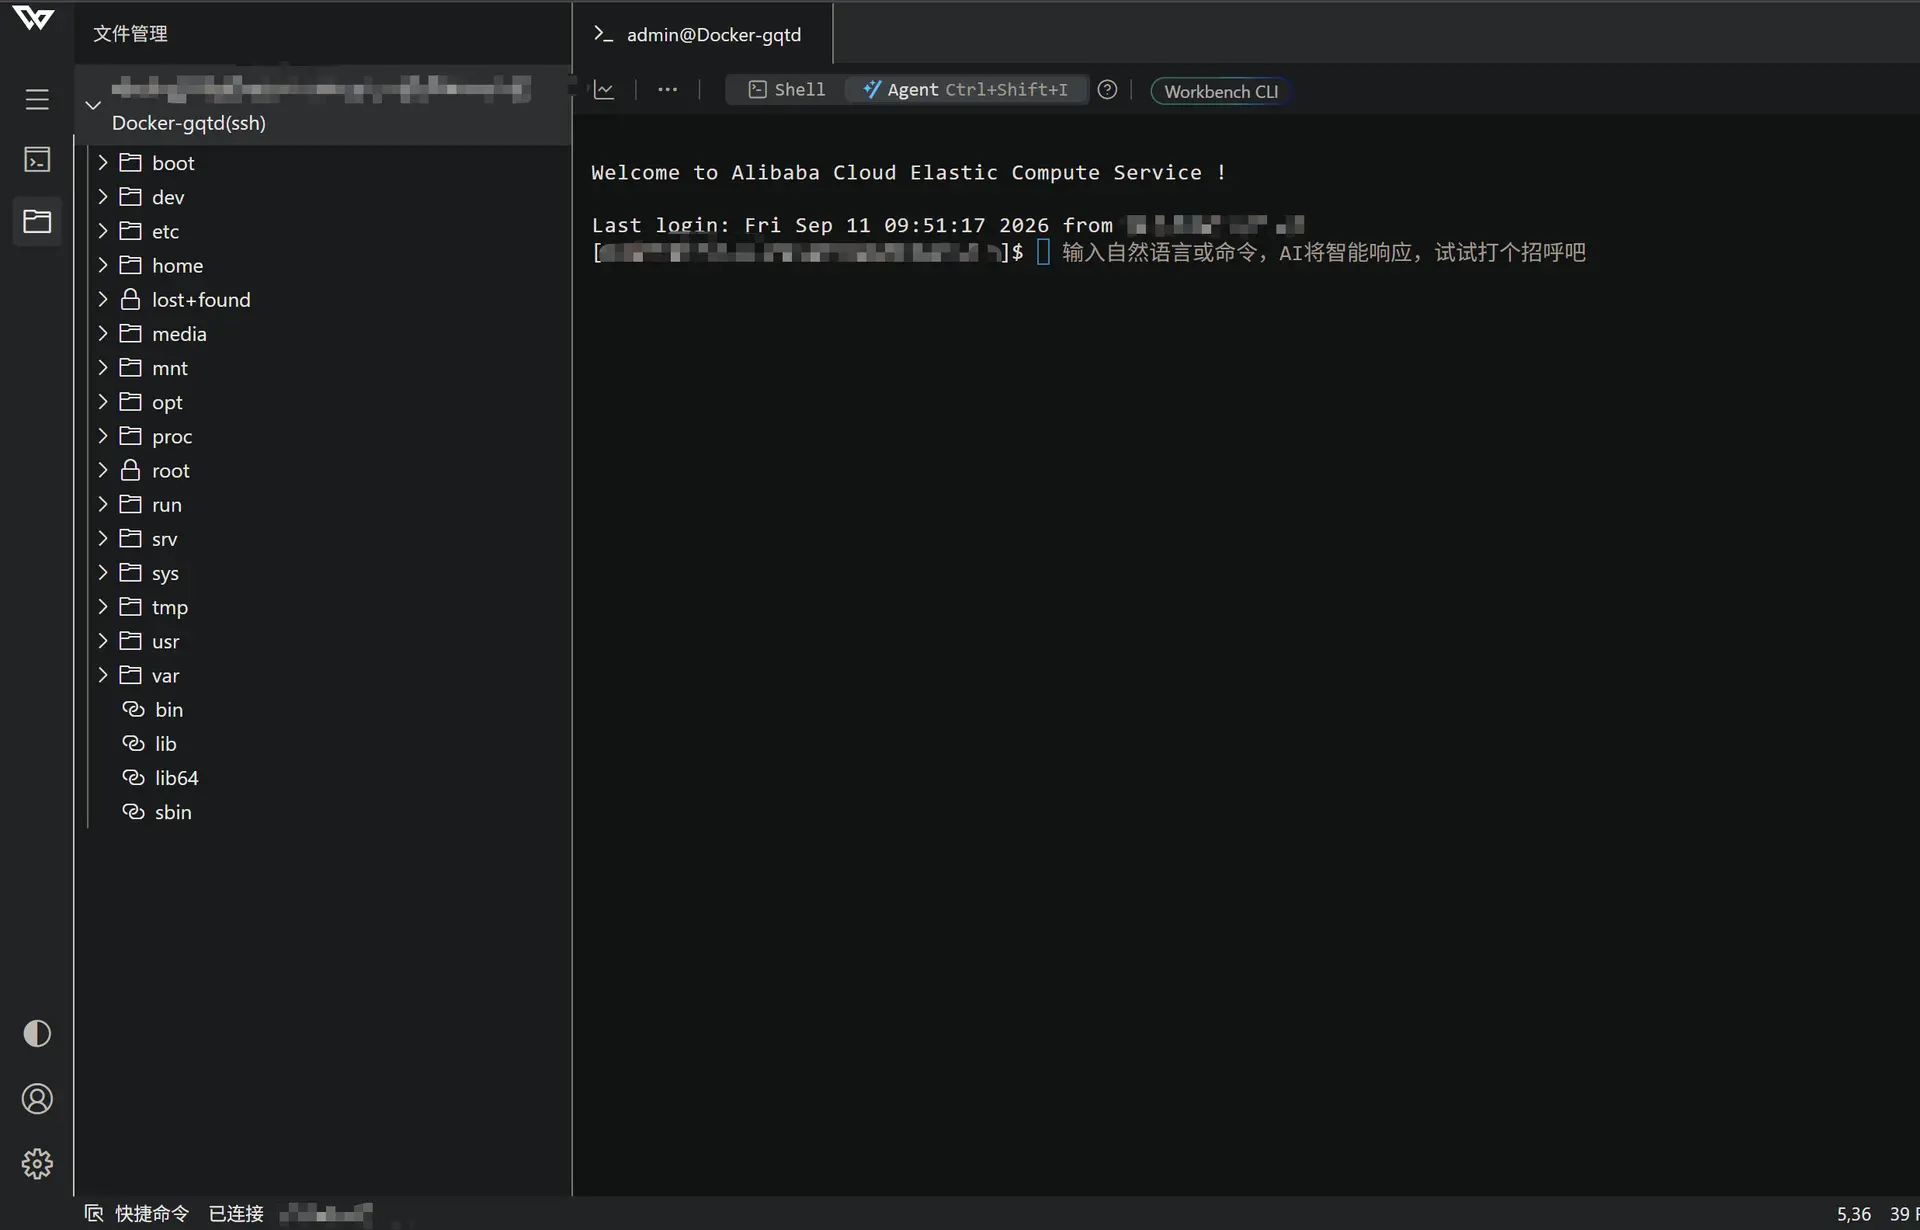
然后先查看真实配置
bash
1
lscpu
得到cpu信息如下,确实是2核
bash
1234567891011121314151617181920212223242526
Architecture:        x86_64
CPU op-mode(s):      32-bit, 64-bit
Byte Order:          Little Endian
CPU(s):              2
On-line CPU(s) list: 0,1
Thread(s) per core:  2
Core(s) per socket:  1
Socket(s):           1
NUMA node(s):        1
Vendor ID:           GenuineIntel
BIOS Vendor ID:      Alibaba Cloud
CPU family:          6
Model:               85
Model name:          Intel(R) Xeon(R) Platinum
BIOS Model name:     pc-i440fx-2.1
Stepping:            4
CPU MHz:             2499.998
BogoMIPS:            4999.99
Hypervisor vendor:   KVM
Virtualization type: full
L1d cache:           32K
L1i cache:           32K
L2 cache:            1024K
L3 cache:            33792K
NUMA node0 CPU(s):   0,1
Flags:               fpu vme de pse tsc msr pae mce cx8 apic sep mtrr pge mca cmov pat pse36 clflush mmx fxsr sse sse2 ss ht syscall nx pdpe1gb rdtscp lm constant_tsc rep_good nopl xtopology nonstop_tsc cpuid tsc_known_freq pni pclmulqdq ssse3 fma cx16 pcid sse4_1 sse4_2 x2apic movbe popcnt tsc_deadline_timer aes xsave avx f16c rdrand hypervisor lahf_lm abm 3dnowprefetch cpuid_fault invpcid_single pti fsgsbase tsc_adjust bmi1 avx2 smep bmi2 erms invpcid avx512f avx512dq rdseed adx smap clflushopt clwb avx512cd avx512bw avx512vl xsaveopt xsavec xgetbv1 xsaves arat
然后查看内存
bash
1
free -h
确实是2G但是没有开swap缓存
bash
123
              total        used        free      shared  buff/cache   available
Mem:          1.8Gi       291Mi       561Mi       2.0Mi       1.0Gi       1.4Gi
Swap:            0B          0B          0B
查看硬盘
bash
1
df -h
确实是40G
bash
123456789
Filesystem      Size  Used Avail Use% Mounted on
devtmpfs        916M     0  916M   0% /dev
tmpfs           936M     0  936M   0% /dev/shm
tmpfs           936M  500K  936M   1% /run
tmpfs           936M     0  936M   0% /sys/fs/cgroup
/dev/vda3        40G  6.7G   31G  18% /
/dev/vda2       200M  5.8M  194M   3% /boot/efi
tmpfs           188M     0  188M   0% /run/user/1000
tmpfs           188M     0  188M   0% /run/user/0
查看 Linux 系统版本
bash
1
cat /etc/os-release
bash
12345678910111213
NAME="Alibaba Cloud Linux"
VERSION="3 (OpenAnolis Edition)"
ID="alinux"
ID_LIKE="rhel fedora centos anolis"
VERSION_ID="3"
VARIANT="OpenAnolis Edition"
VARIANT_ID="openanolis"
ALINUX_MINOR_ID="2104"
ALINUX_UPDATE_ID="10"
PLATFORM_ID="platform:al8"
PRETTY_NAME="Alibaba Cloud Linux 3.2104 U10 (OpenAnolis Edition)"
ANSI_COLOR="0;31"
HOME_URL="https://www.aliyun.com/"
查看监听端口
bash
1
ss -lntp
就是22端口
bash
123
State        Recv-Q       Send-Q             Local Address:Port             Peer Address:Port       Process
LISTEN       0            128                      0.0.0.0:22                    0.0.0.0:*           users:(("sshd",pid=2721,fd=3))
LISTEN       0            128                         [::]:22                       [::]:*           users:(("sshd",pid=2721,fd=4))
开启swap 2GB缓存并永久启用
bash
12345
sudo fallocate -l 2G /swapfile
sudo chmod 600 /swapfile
sudo mkswap /swapfile
sudo swapon /swapfile
echo '/swapfile none swap sw 0 0' | sudo tee -a /etc/fstab
检测是否开启
bash
1
swapon --show
可以看到
bash
12
NAME      TYPE SIZE USED PRIO
/swapfile file   2G   0B   -2
或者也可以直接查看内存
text
1
free -h
得到
bash
123
              total        used        free      shared  buff/cache   available
Mem:          1.8Gi       288Mi       562Mi       1.0Mi       1.0Gi       1.4Gi
Swap:         2.0Gi          0B       2.0Gi
ok,已开启
防火墙
先看看防火墙状态,阿里云已经默认开了防火墙且已有几个端口添加自动添加了
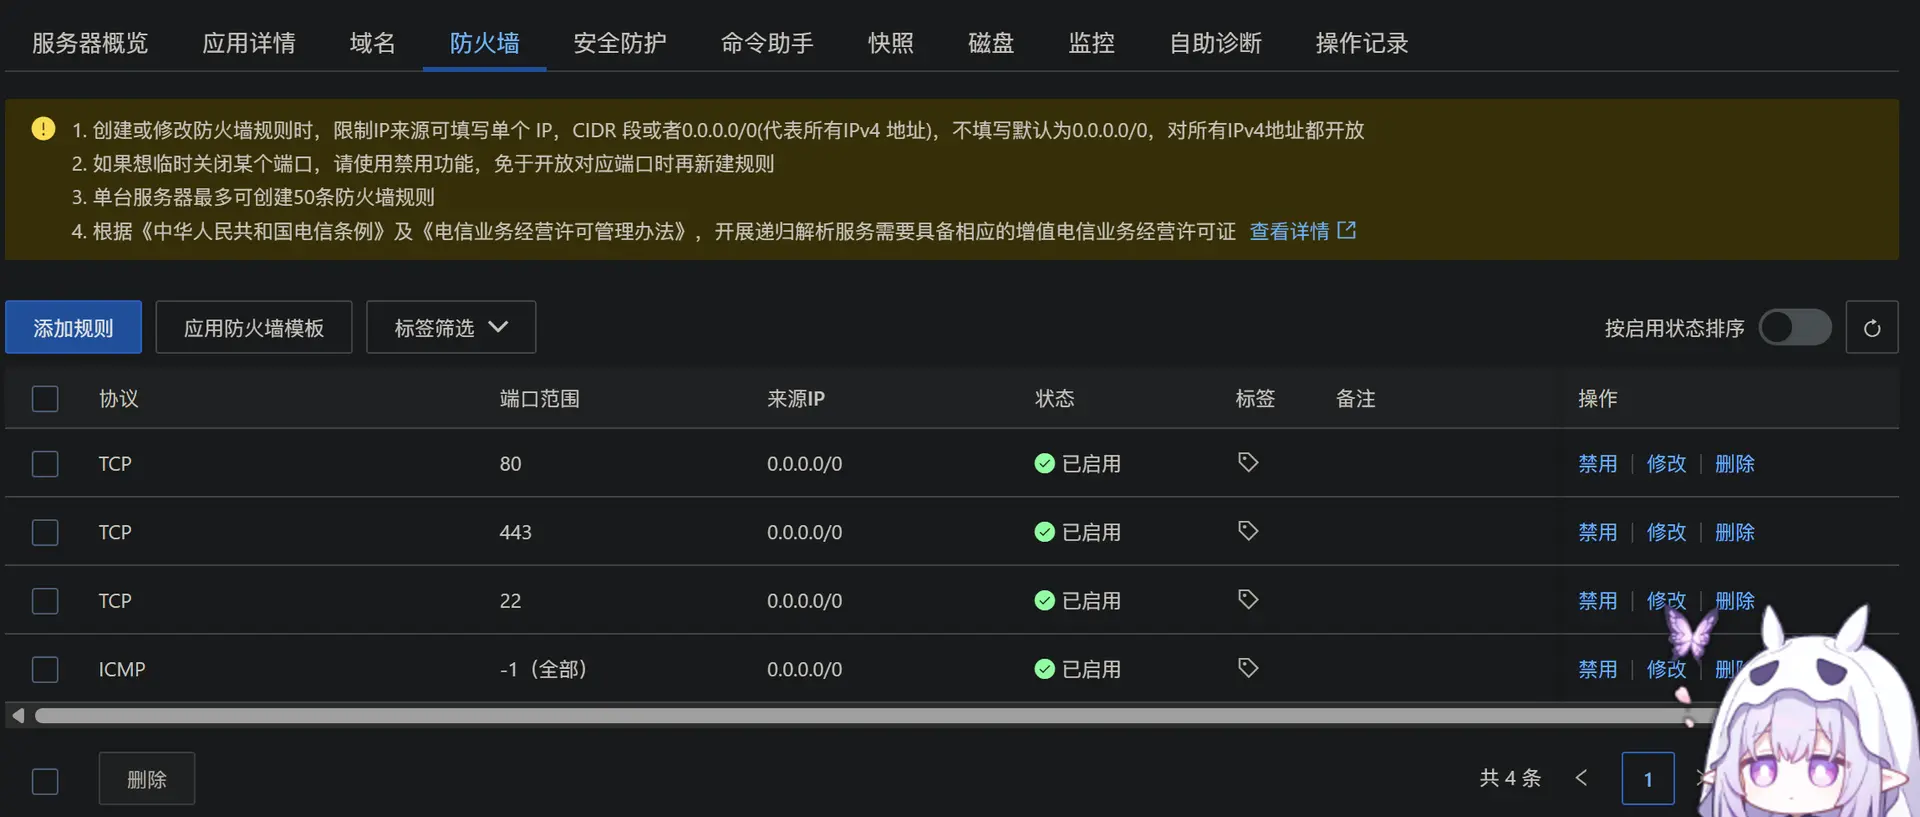
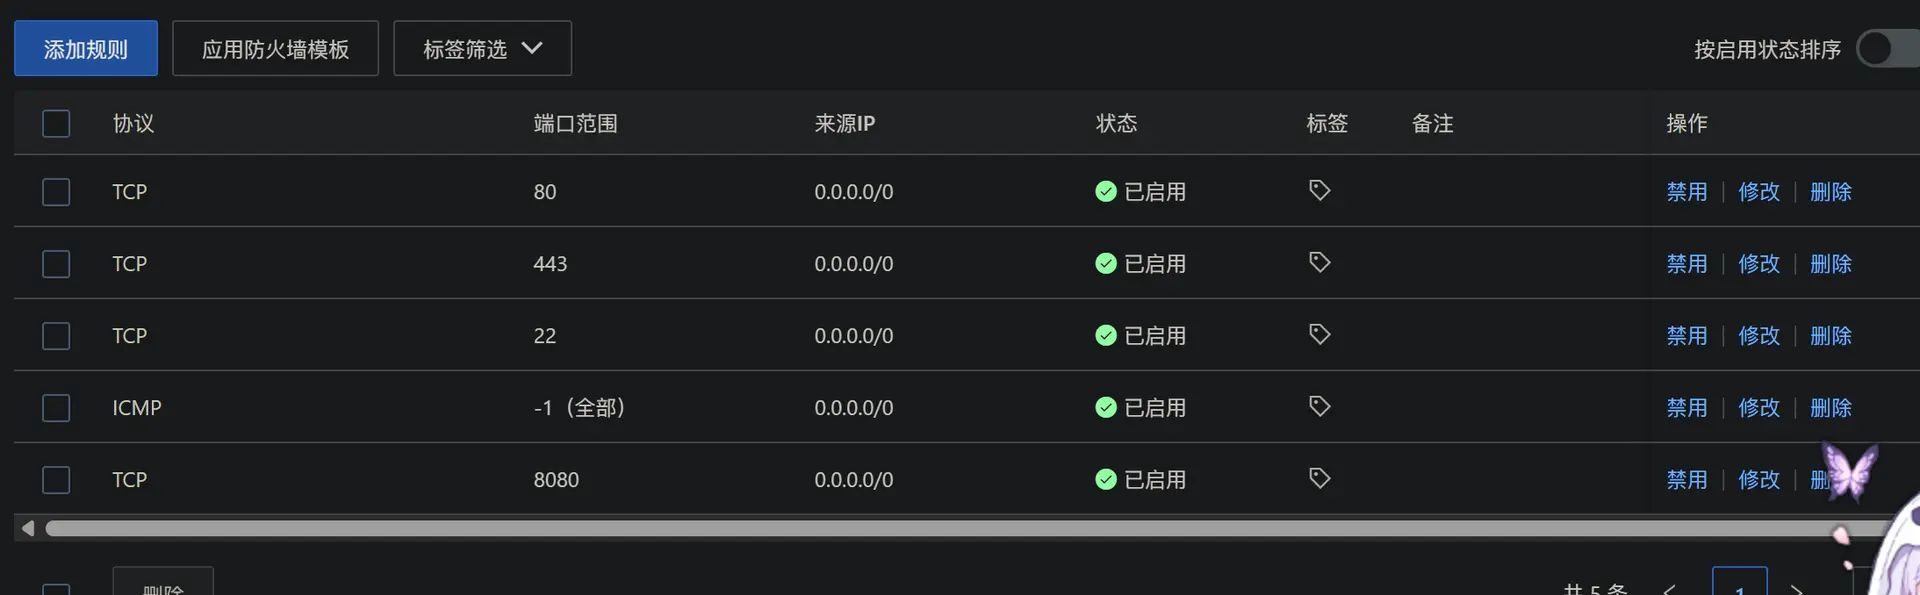
所以无需操作,只需添加防火墙白名单即可
缺点
太慢了,造的VPN根本无法正常用,顶多只能浏览普通网站,无法看视频
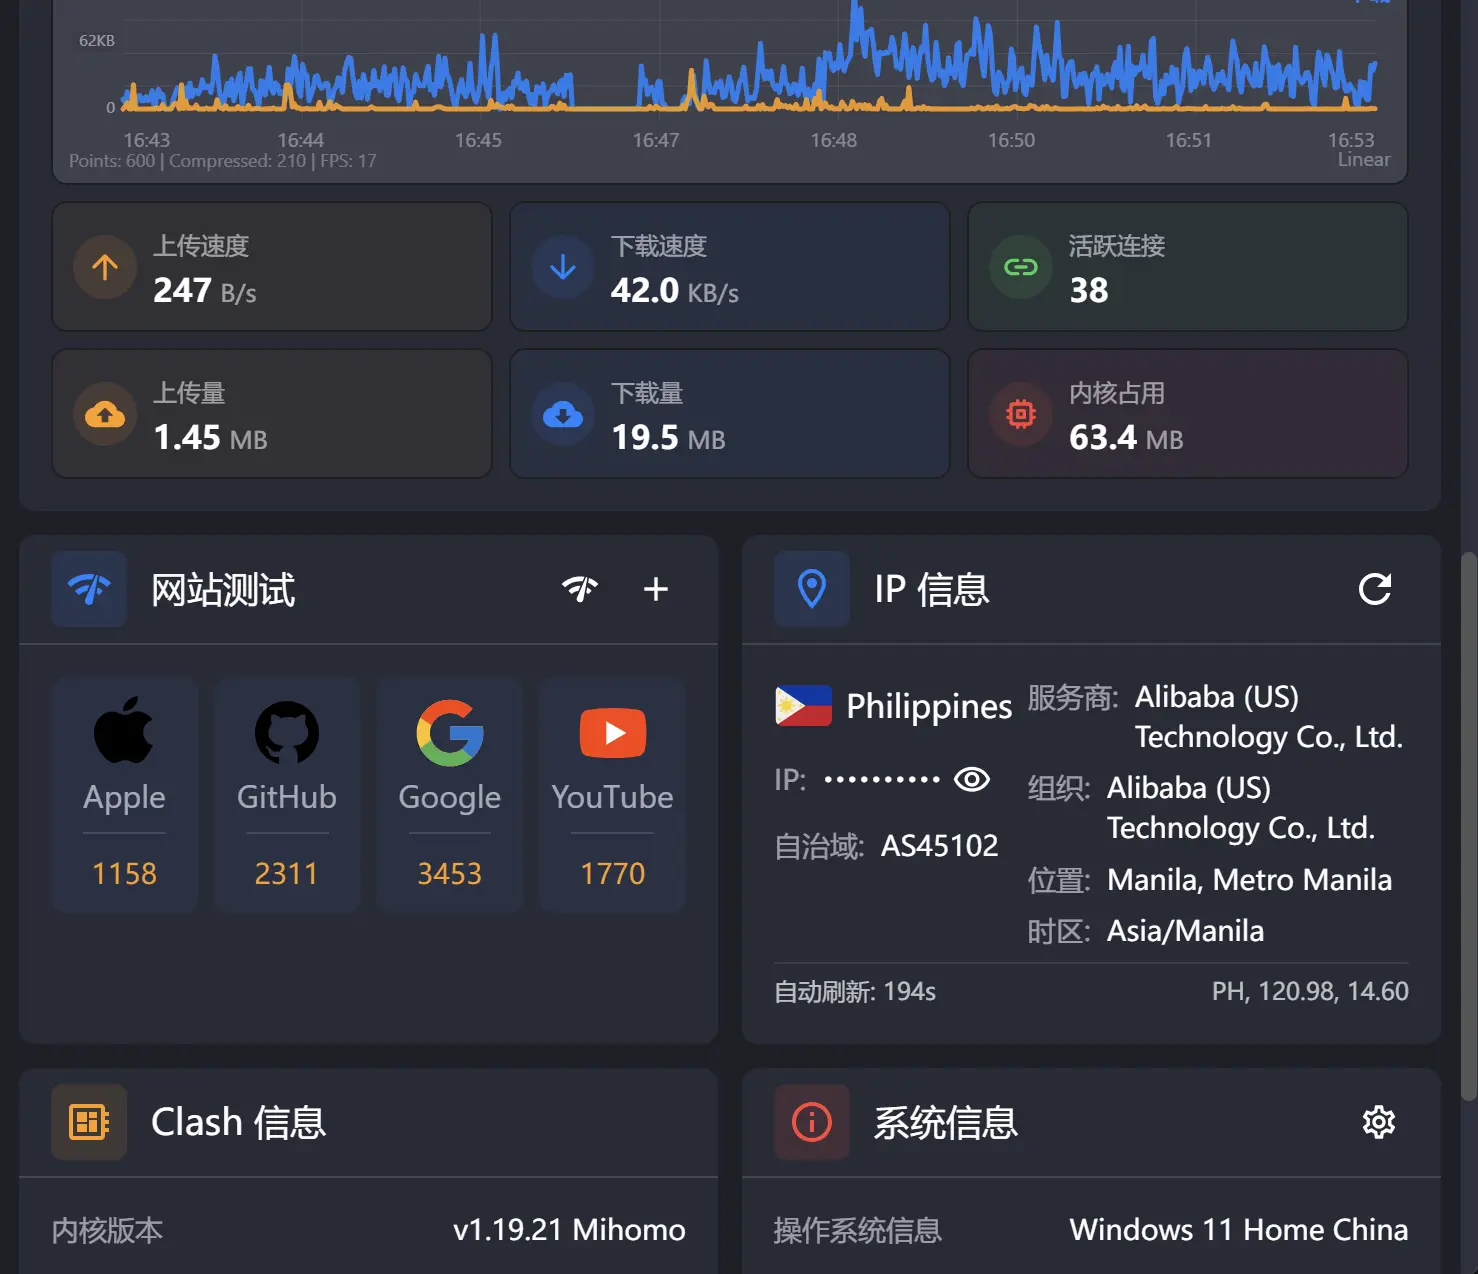
所以我们需要开启BBR拥塞算法
BBR只是优化不保证能够降低延迟,取决于服务器自身
启用 BBR TCP 拥塞控制算法
首先看看是否为BBR模式
powershell
1
sysctl net.ipv4.tcp_congestion_control net.core.default_qdisc
若显示的是net.ipv4.tcp_congestion_control = cubic net.core.default_qdisc = fq_codel
我们需要进一步操作启用BBR
powershell
12345678910
cat > /etc/modules-load.d/tcp_bbr.conf <<'EOF'
tcp_bbr
EOF

cat > /etc/sysctl.d/99-bbr.conf <<'EOF'
net.core.default_qdisc=fq
net.ipv4.tcp_congestion_control=bbr
EOF

sysctl --system
我们验证一下
text
1
sysctl net.ipv4.tcp_congestion_control net.core.default_qdisc
若显示net.ipv4.tcp_congestion_control = bbr net.core.default_qdisc = fq表示已开启